
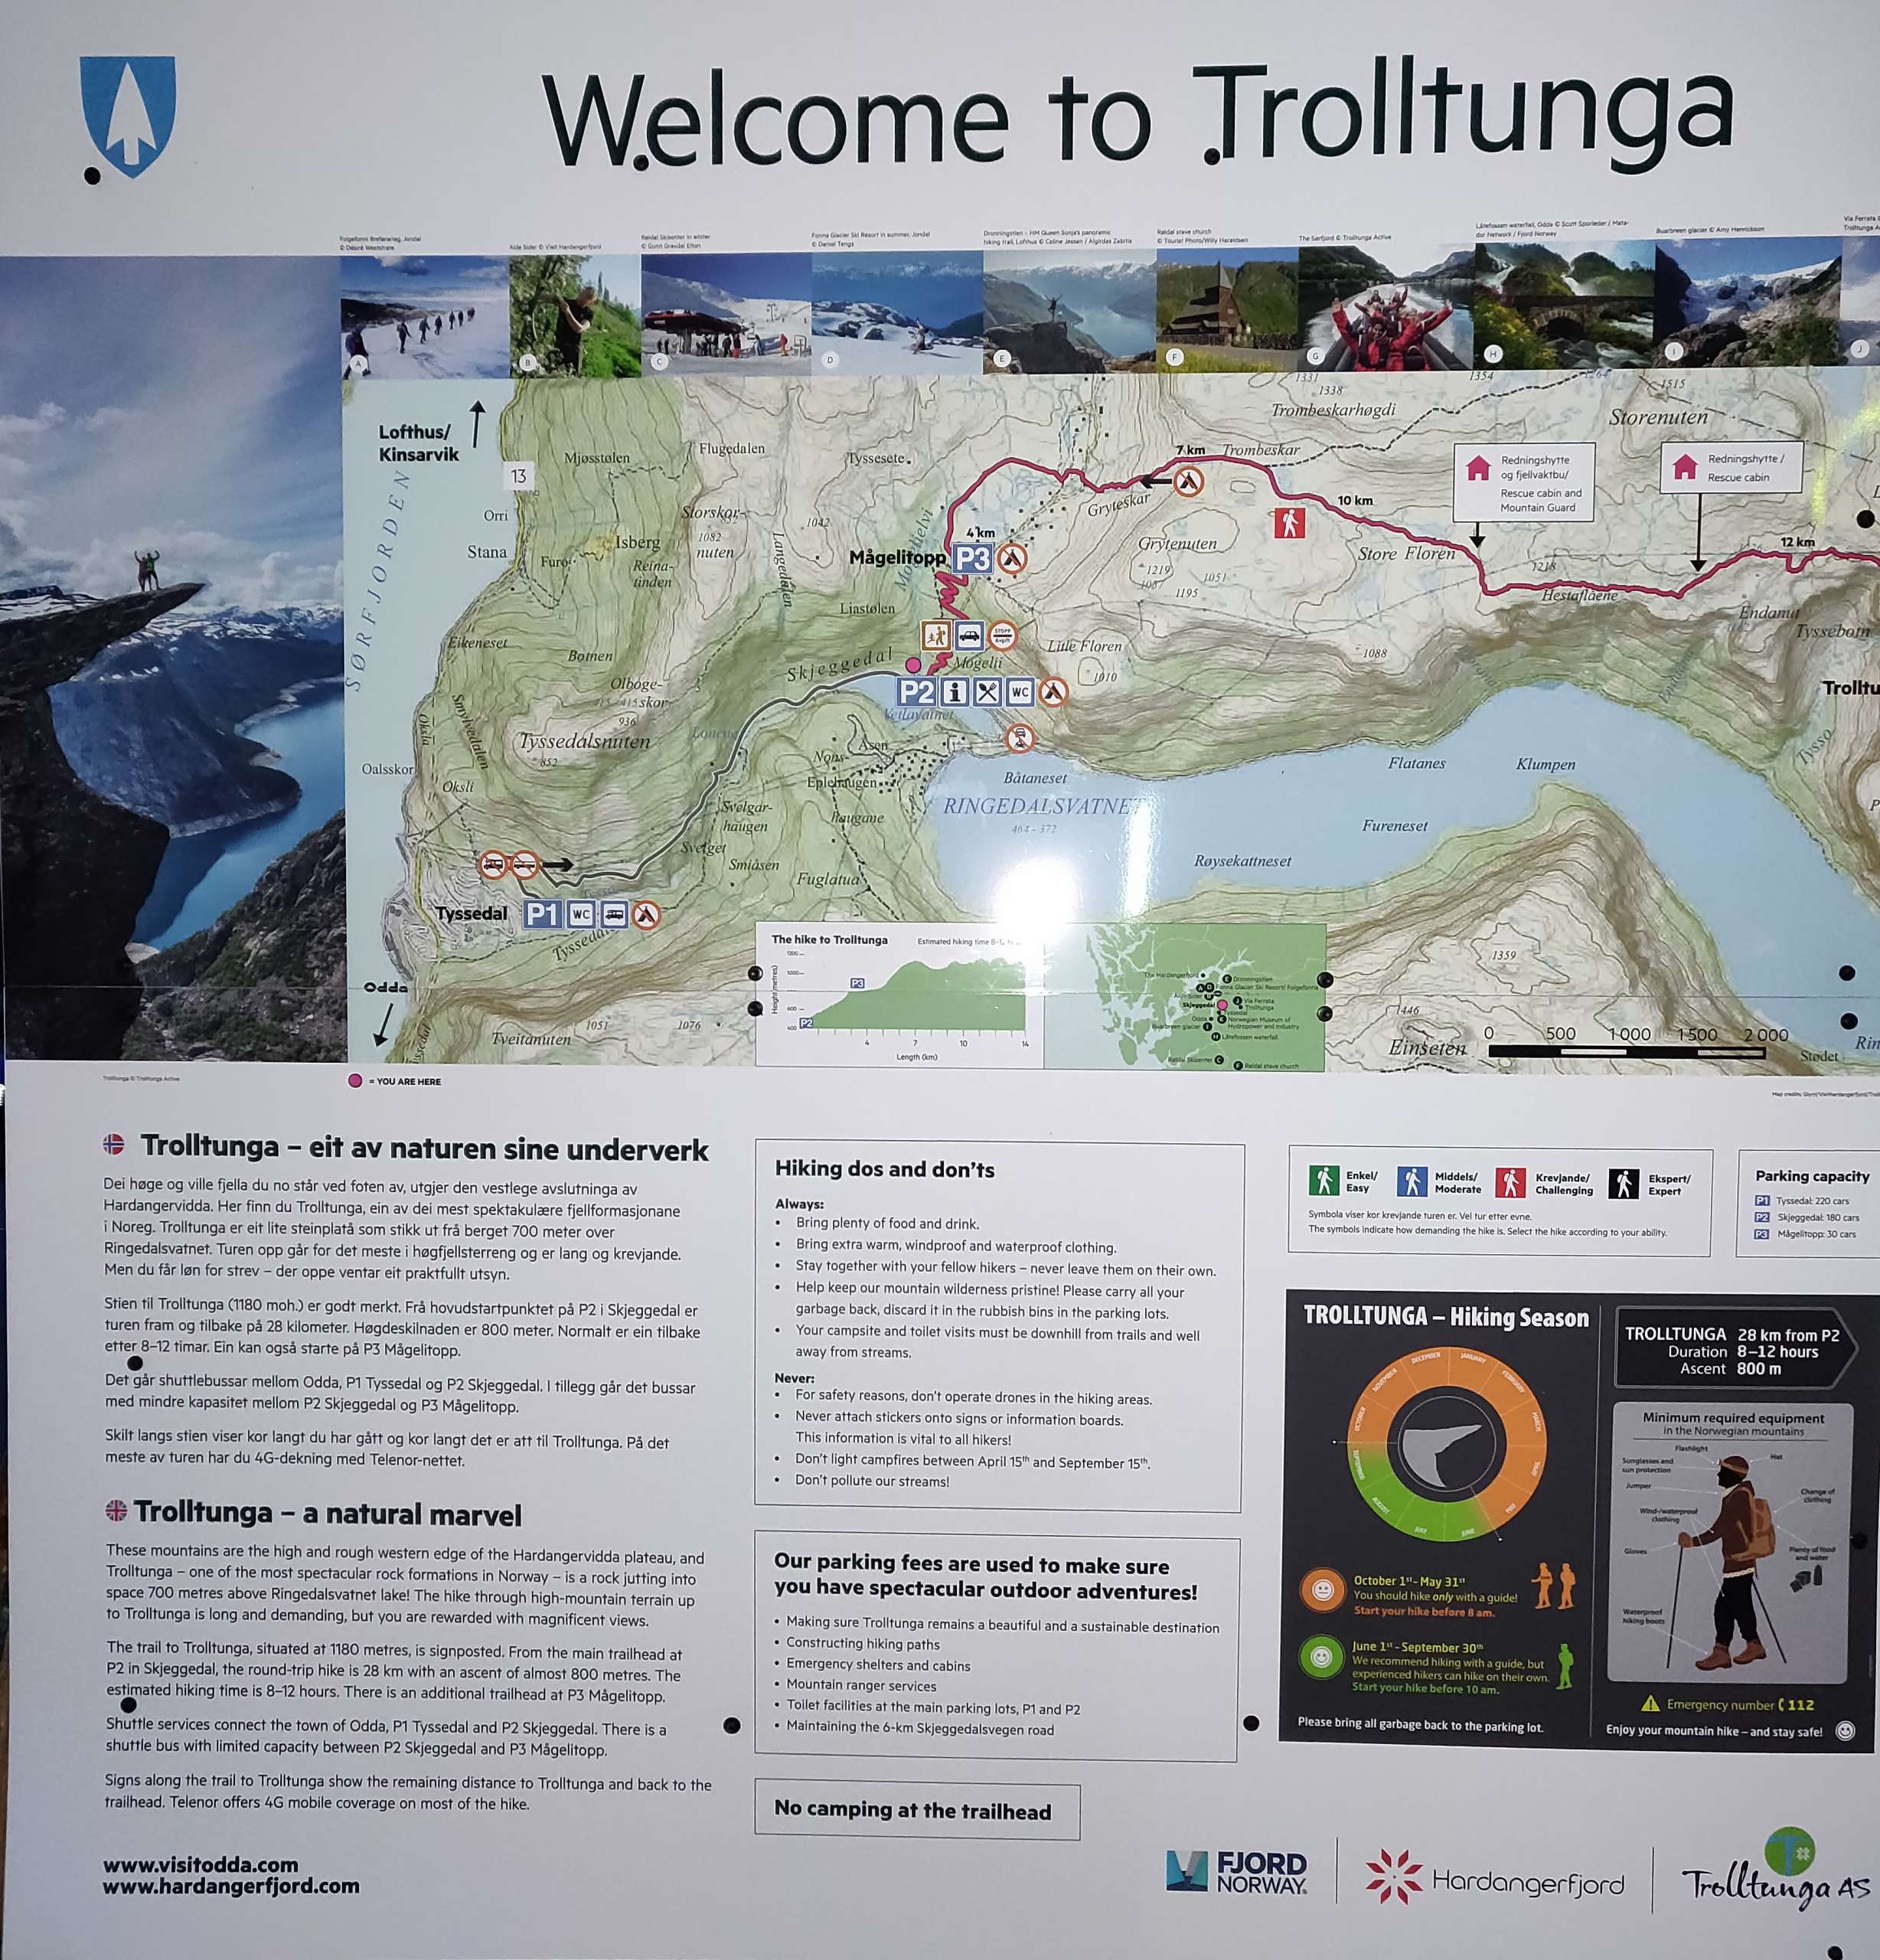
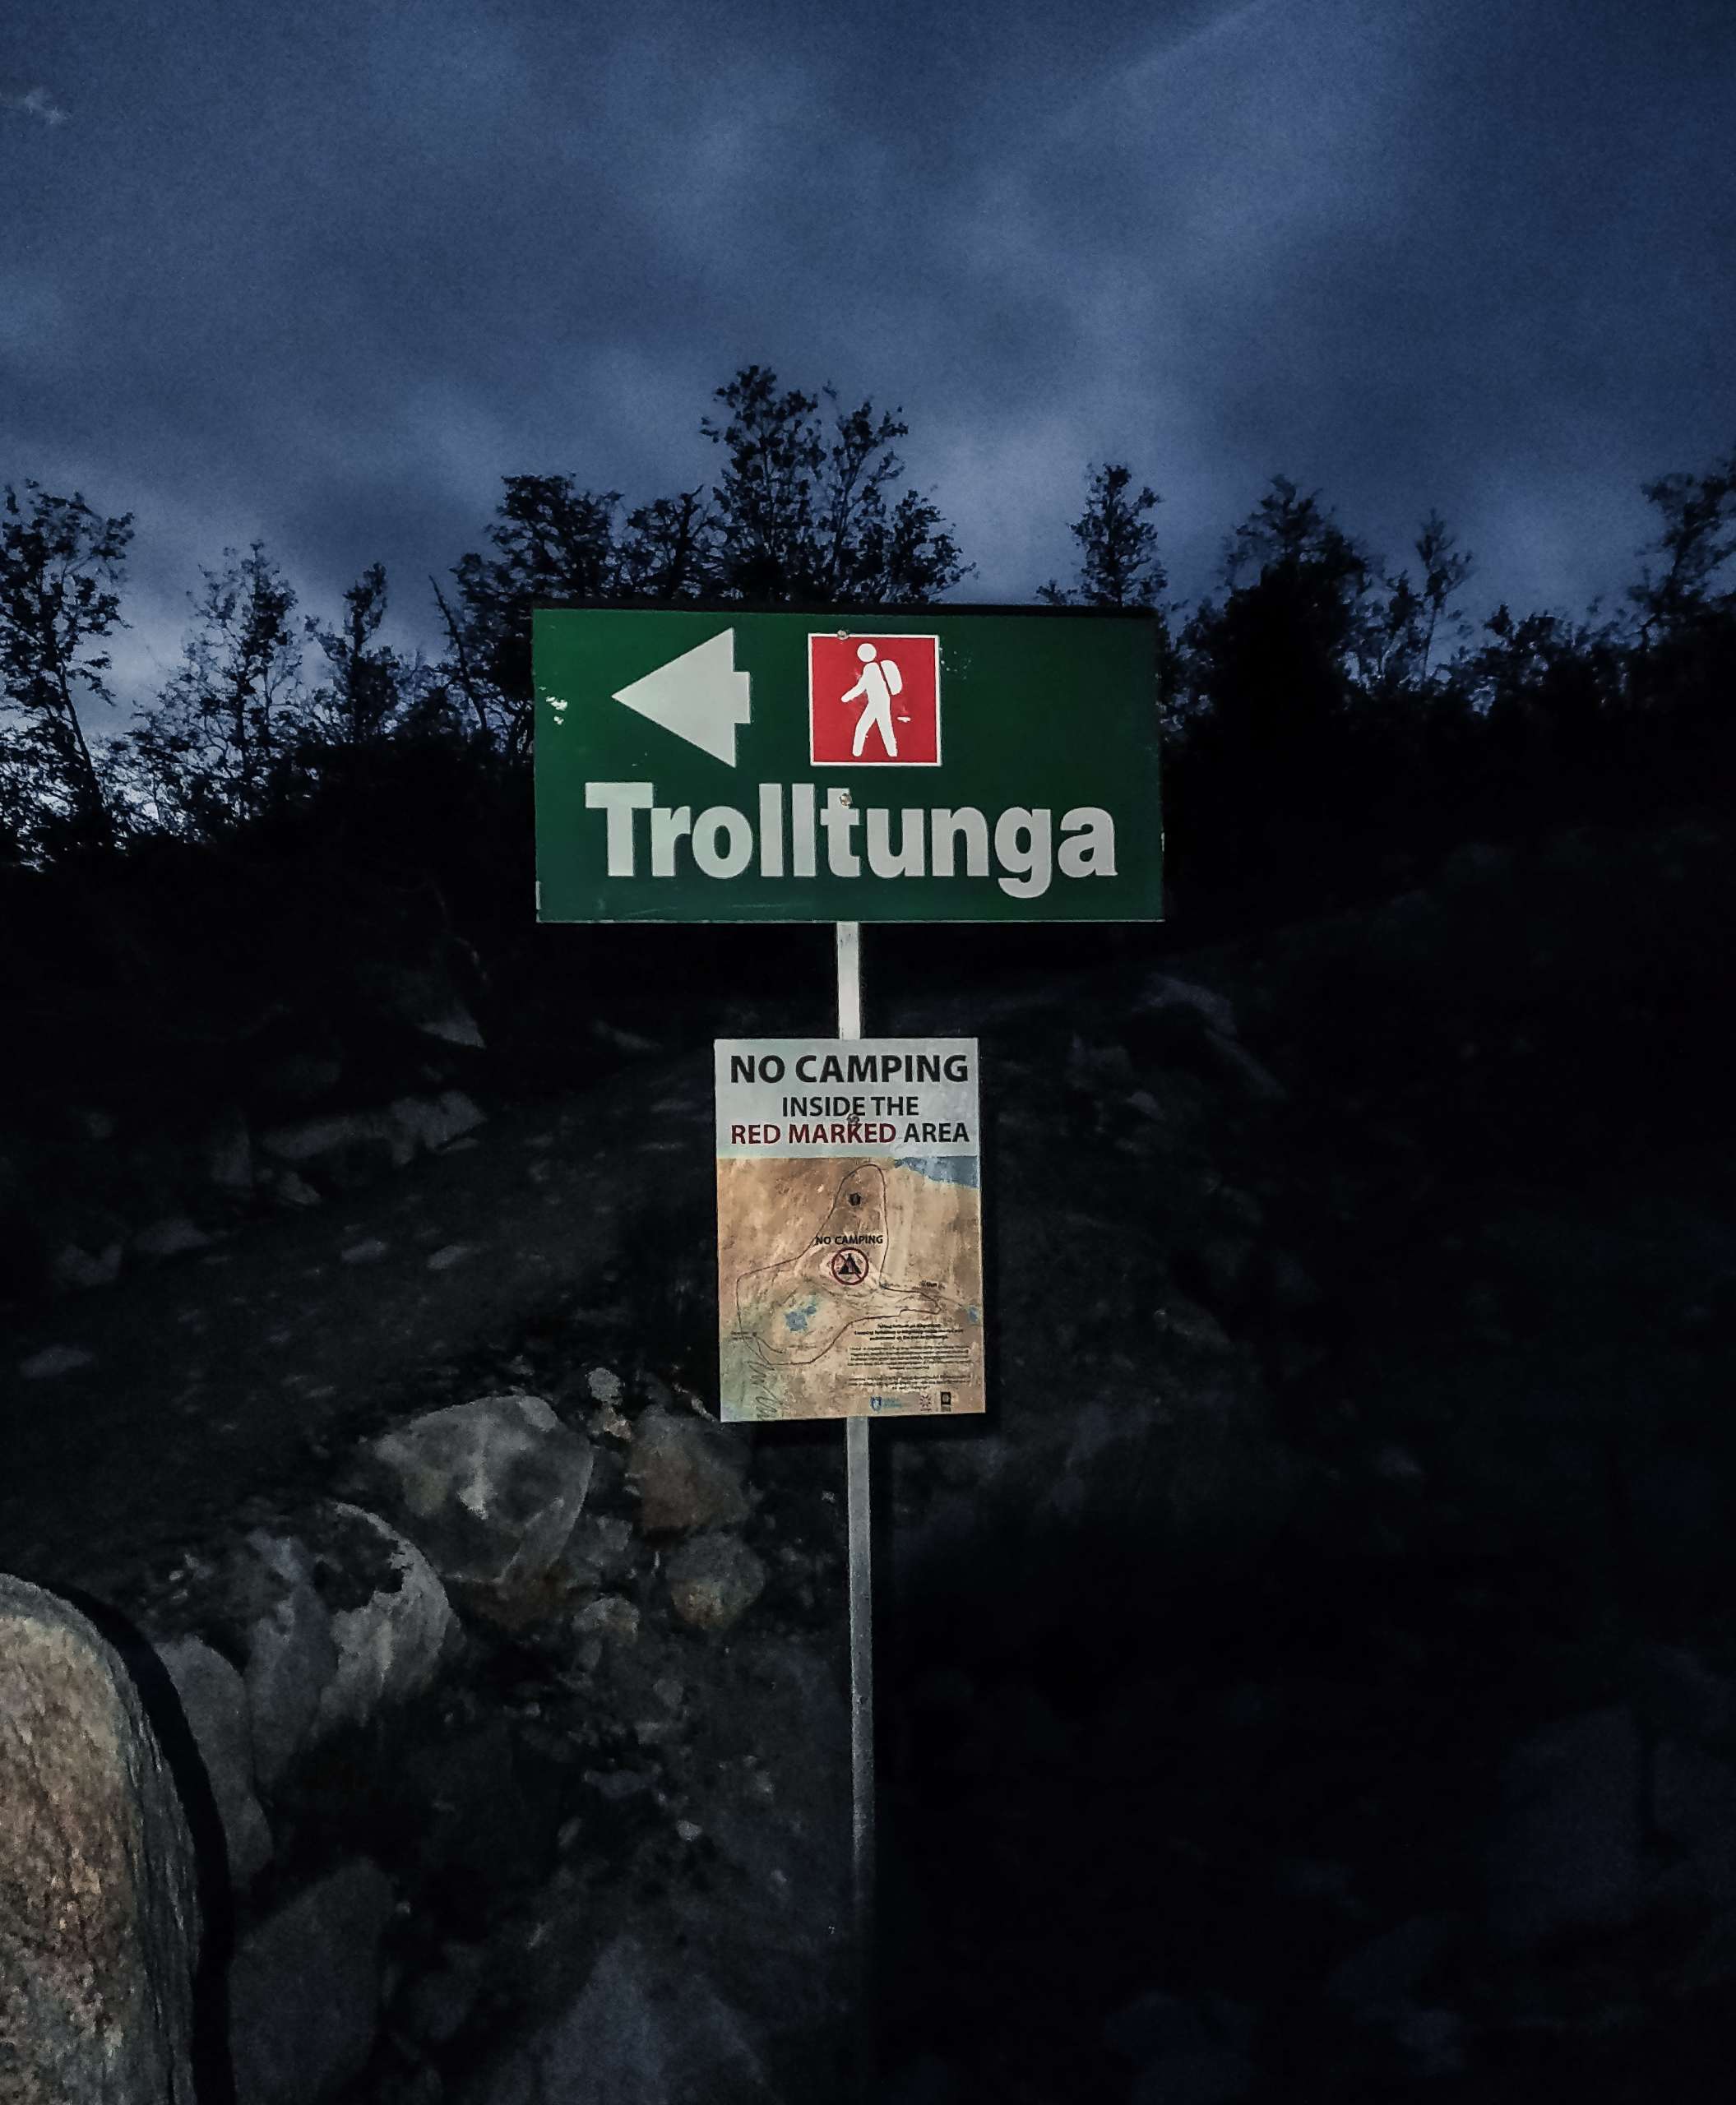
Trolltunga is the most popular hiking destination of Norway. Recently, Trolltunga has become really popular in social media. The rock formation is located about 1100 meters above the sea level. The mountain is located in the municipality of Odda. The hiking season starts from June till late September. I visited the mountain in July and the weather was perfect. During the summer season you can explore for longer hours around the mountain because the day light hours are longer. The sunset usually happens at around 11 pm and sunrise happens at around 5 am. You need two days for trip to Trolltunga because it is a long hike and it is situated in one of the remotest part of Norway. Most people stay at Odda overnight and start their hiking early morning.
Odda is a beautiful small town and it is located at the southern tip of Sorfjorden fjord. You can reach odda via rosendal or via Voss. Most hikers take the early morning bus from Odda and reach the hike starting point in Skjeggedal. The buses from Odda bus terminal leaves at around 530 am, 6 am and 720 am to Skjeggedal. You can book your bus tickets online at taxibusodda.com. The cost for the bus ride is NOK 150. The bus journey takes about 30 minutes. The distance between Odda and Skjeggedal is only 12 km but after Tyssedal the road is steep and narrow till all the way up to Skjeggedal. The return bus from Odda is scheduled at 15.15-16.15-1730-19.00. Most people can make it back for the 7pm bus but you will be rushing too much if you follow this itinerary. There is long queue at the top of Trolltunga and you might have to wait 1-2 hours depending on the time you arrive the rock. People prefer to camp near the rock so that they don’t have to queue longer for photographs. I was travelling solo so I decided not to travel to Trolltunga early morning because of the long queue and crowds. I had to do this hike in 2 days and I choose Bergen as my base for the hike.

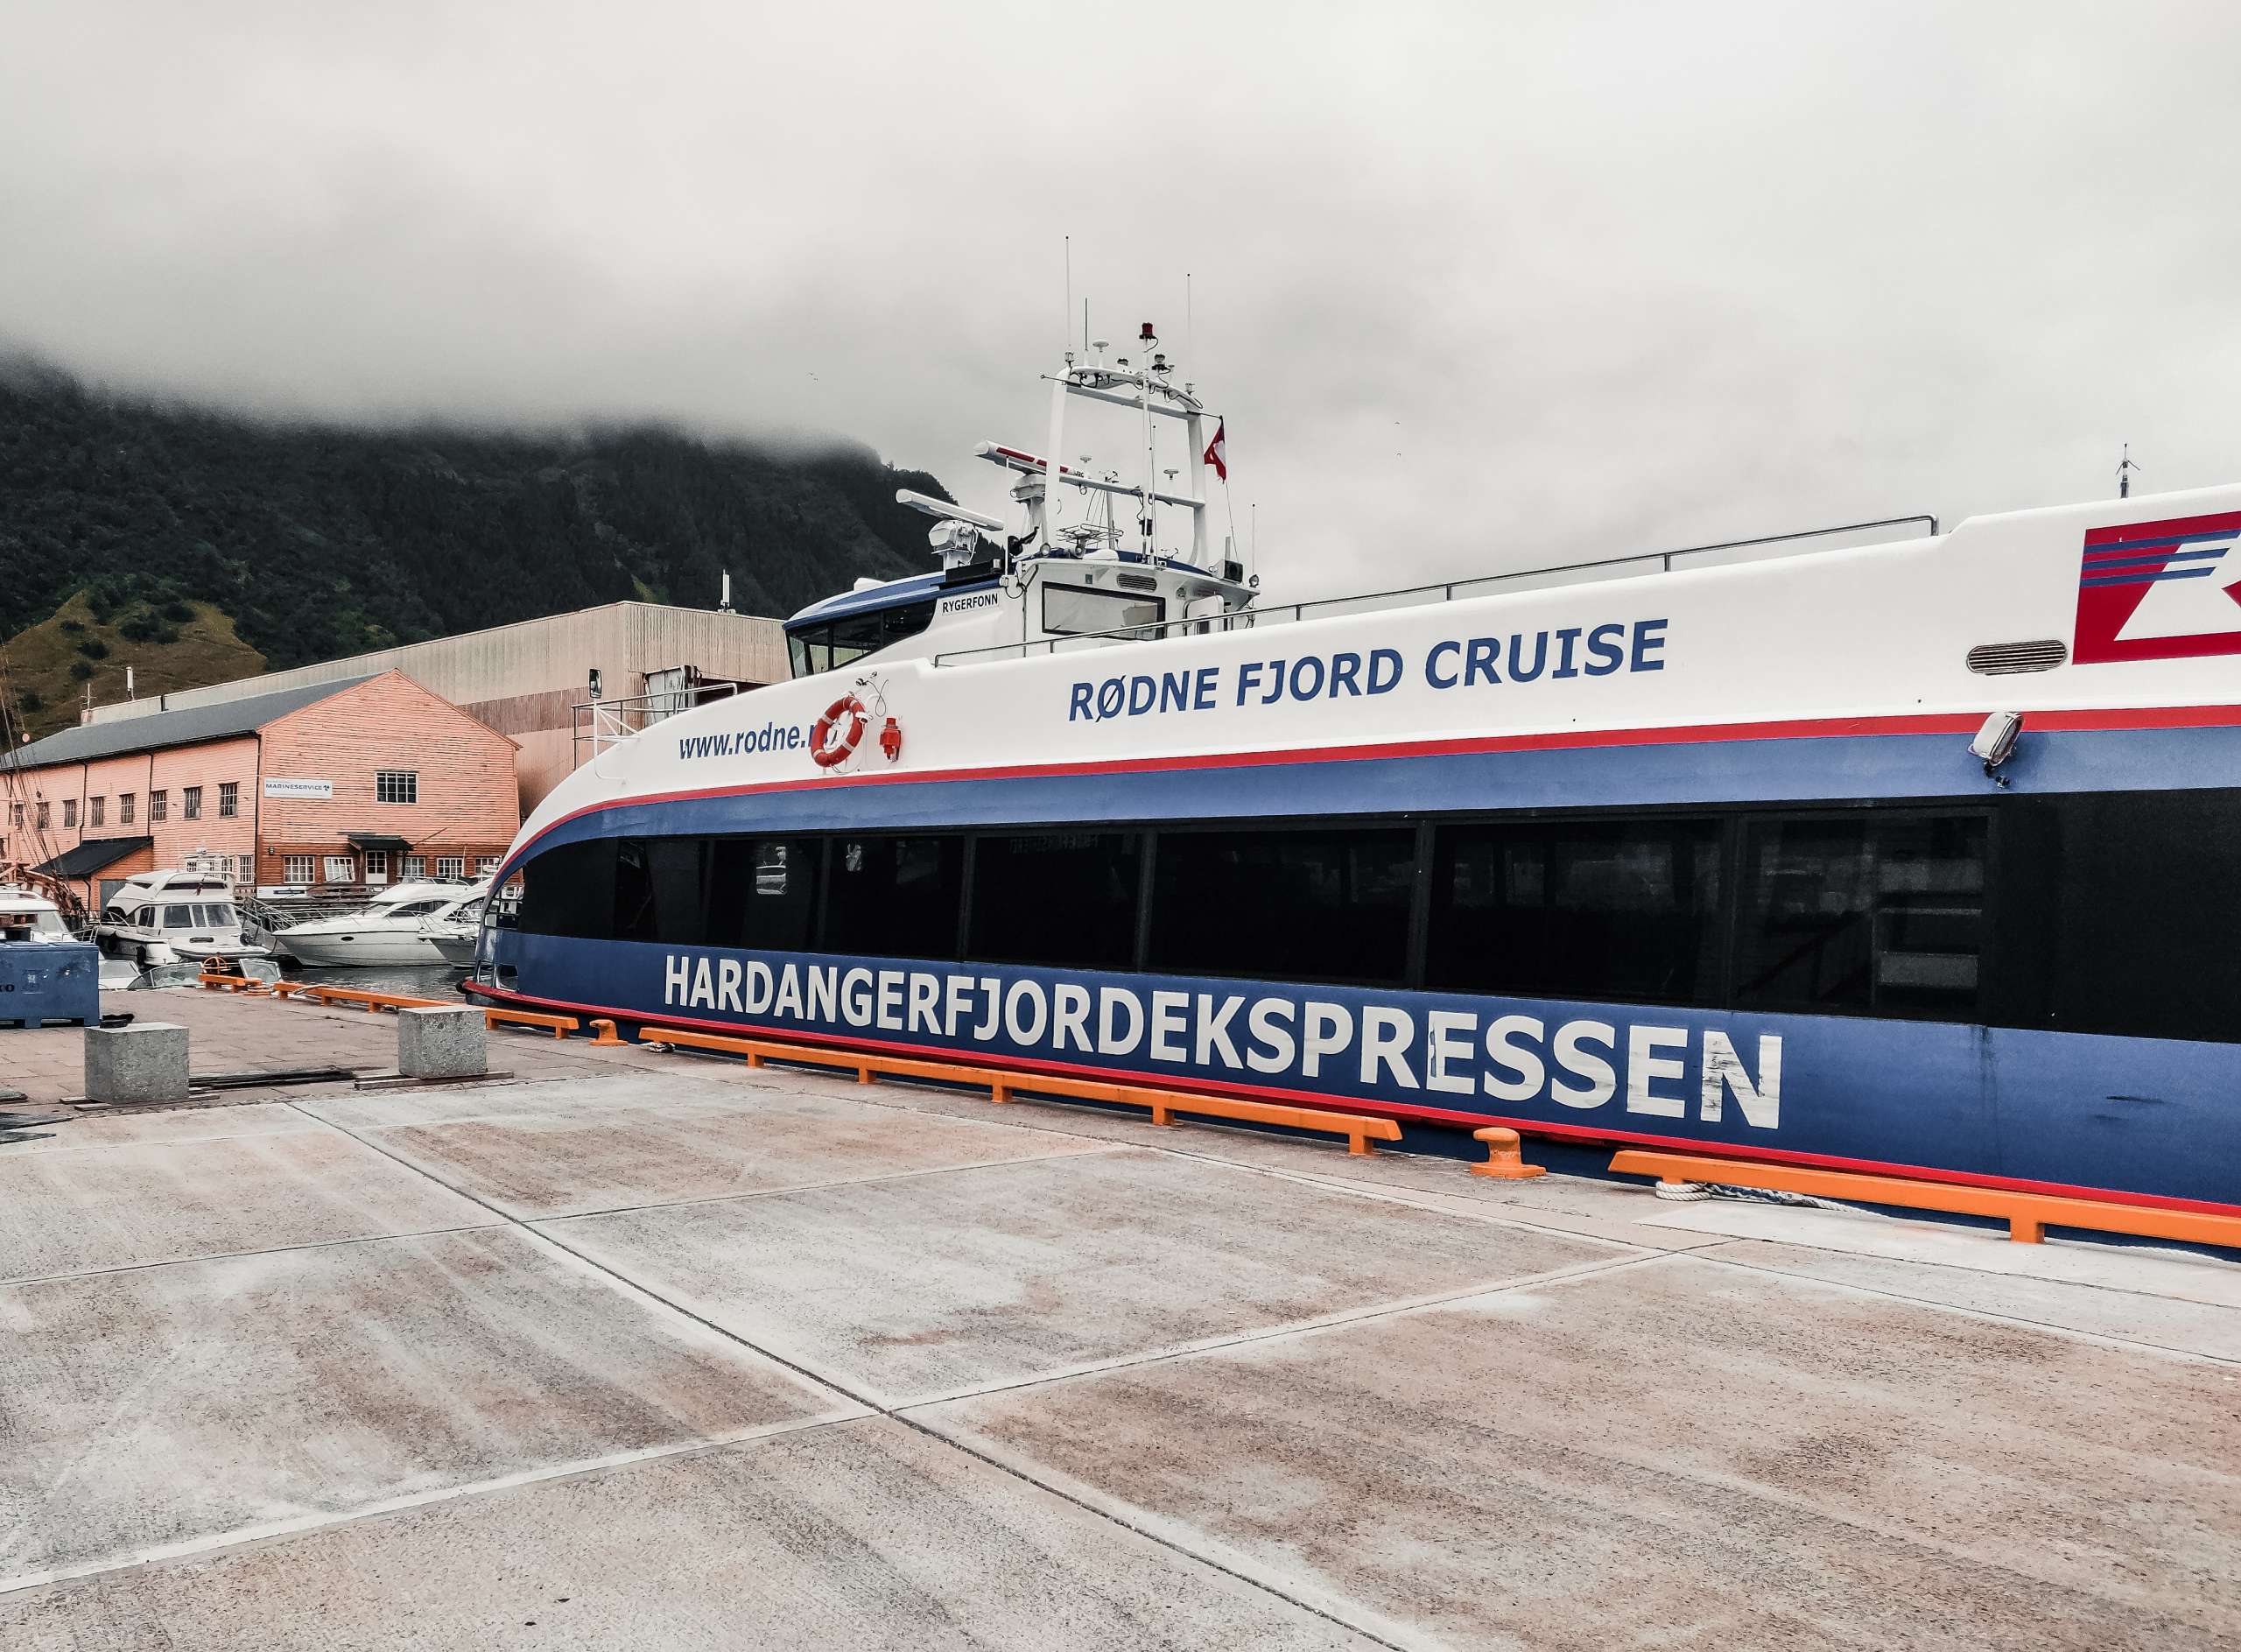
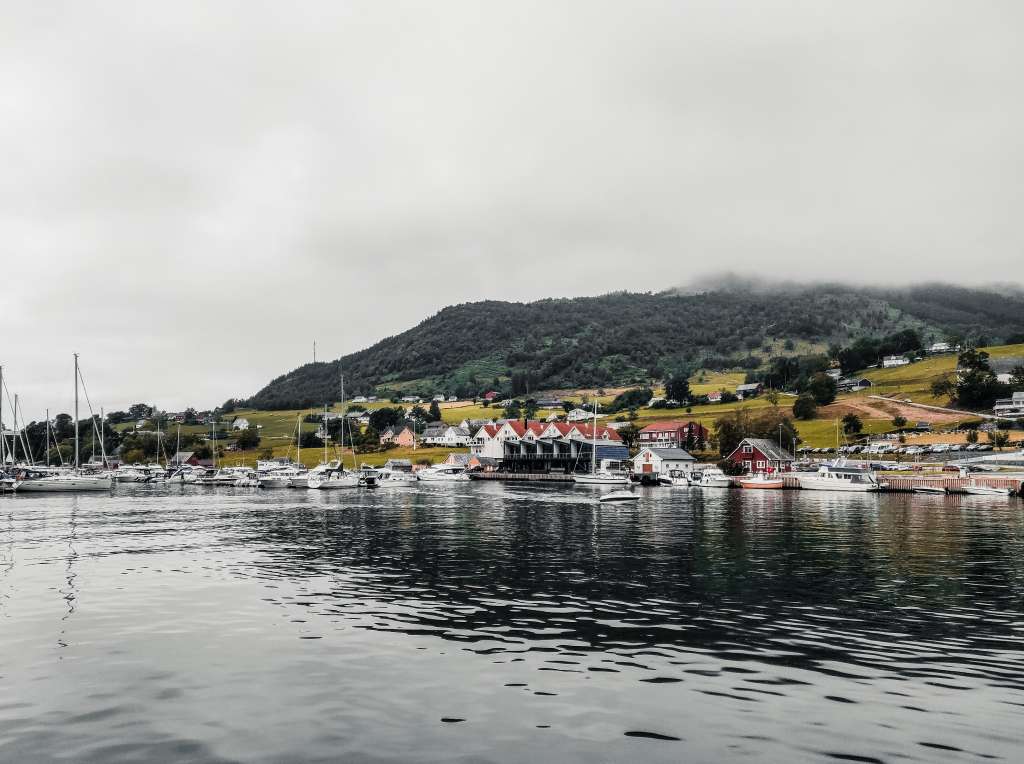
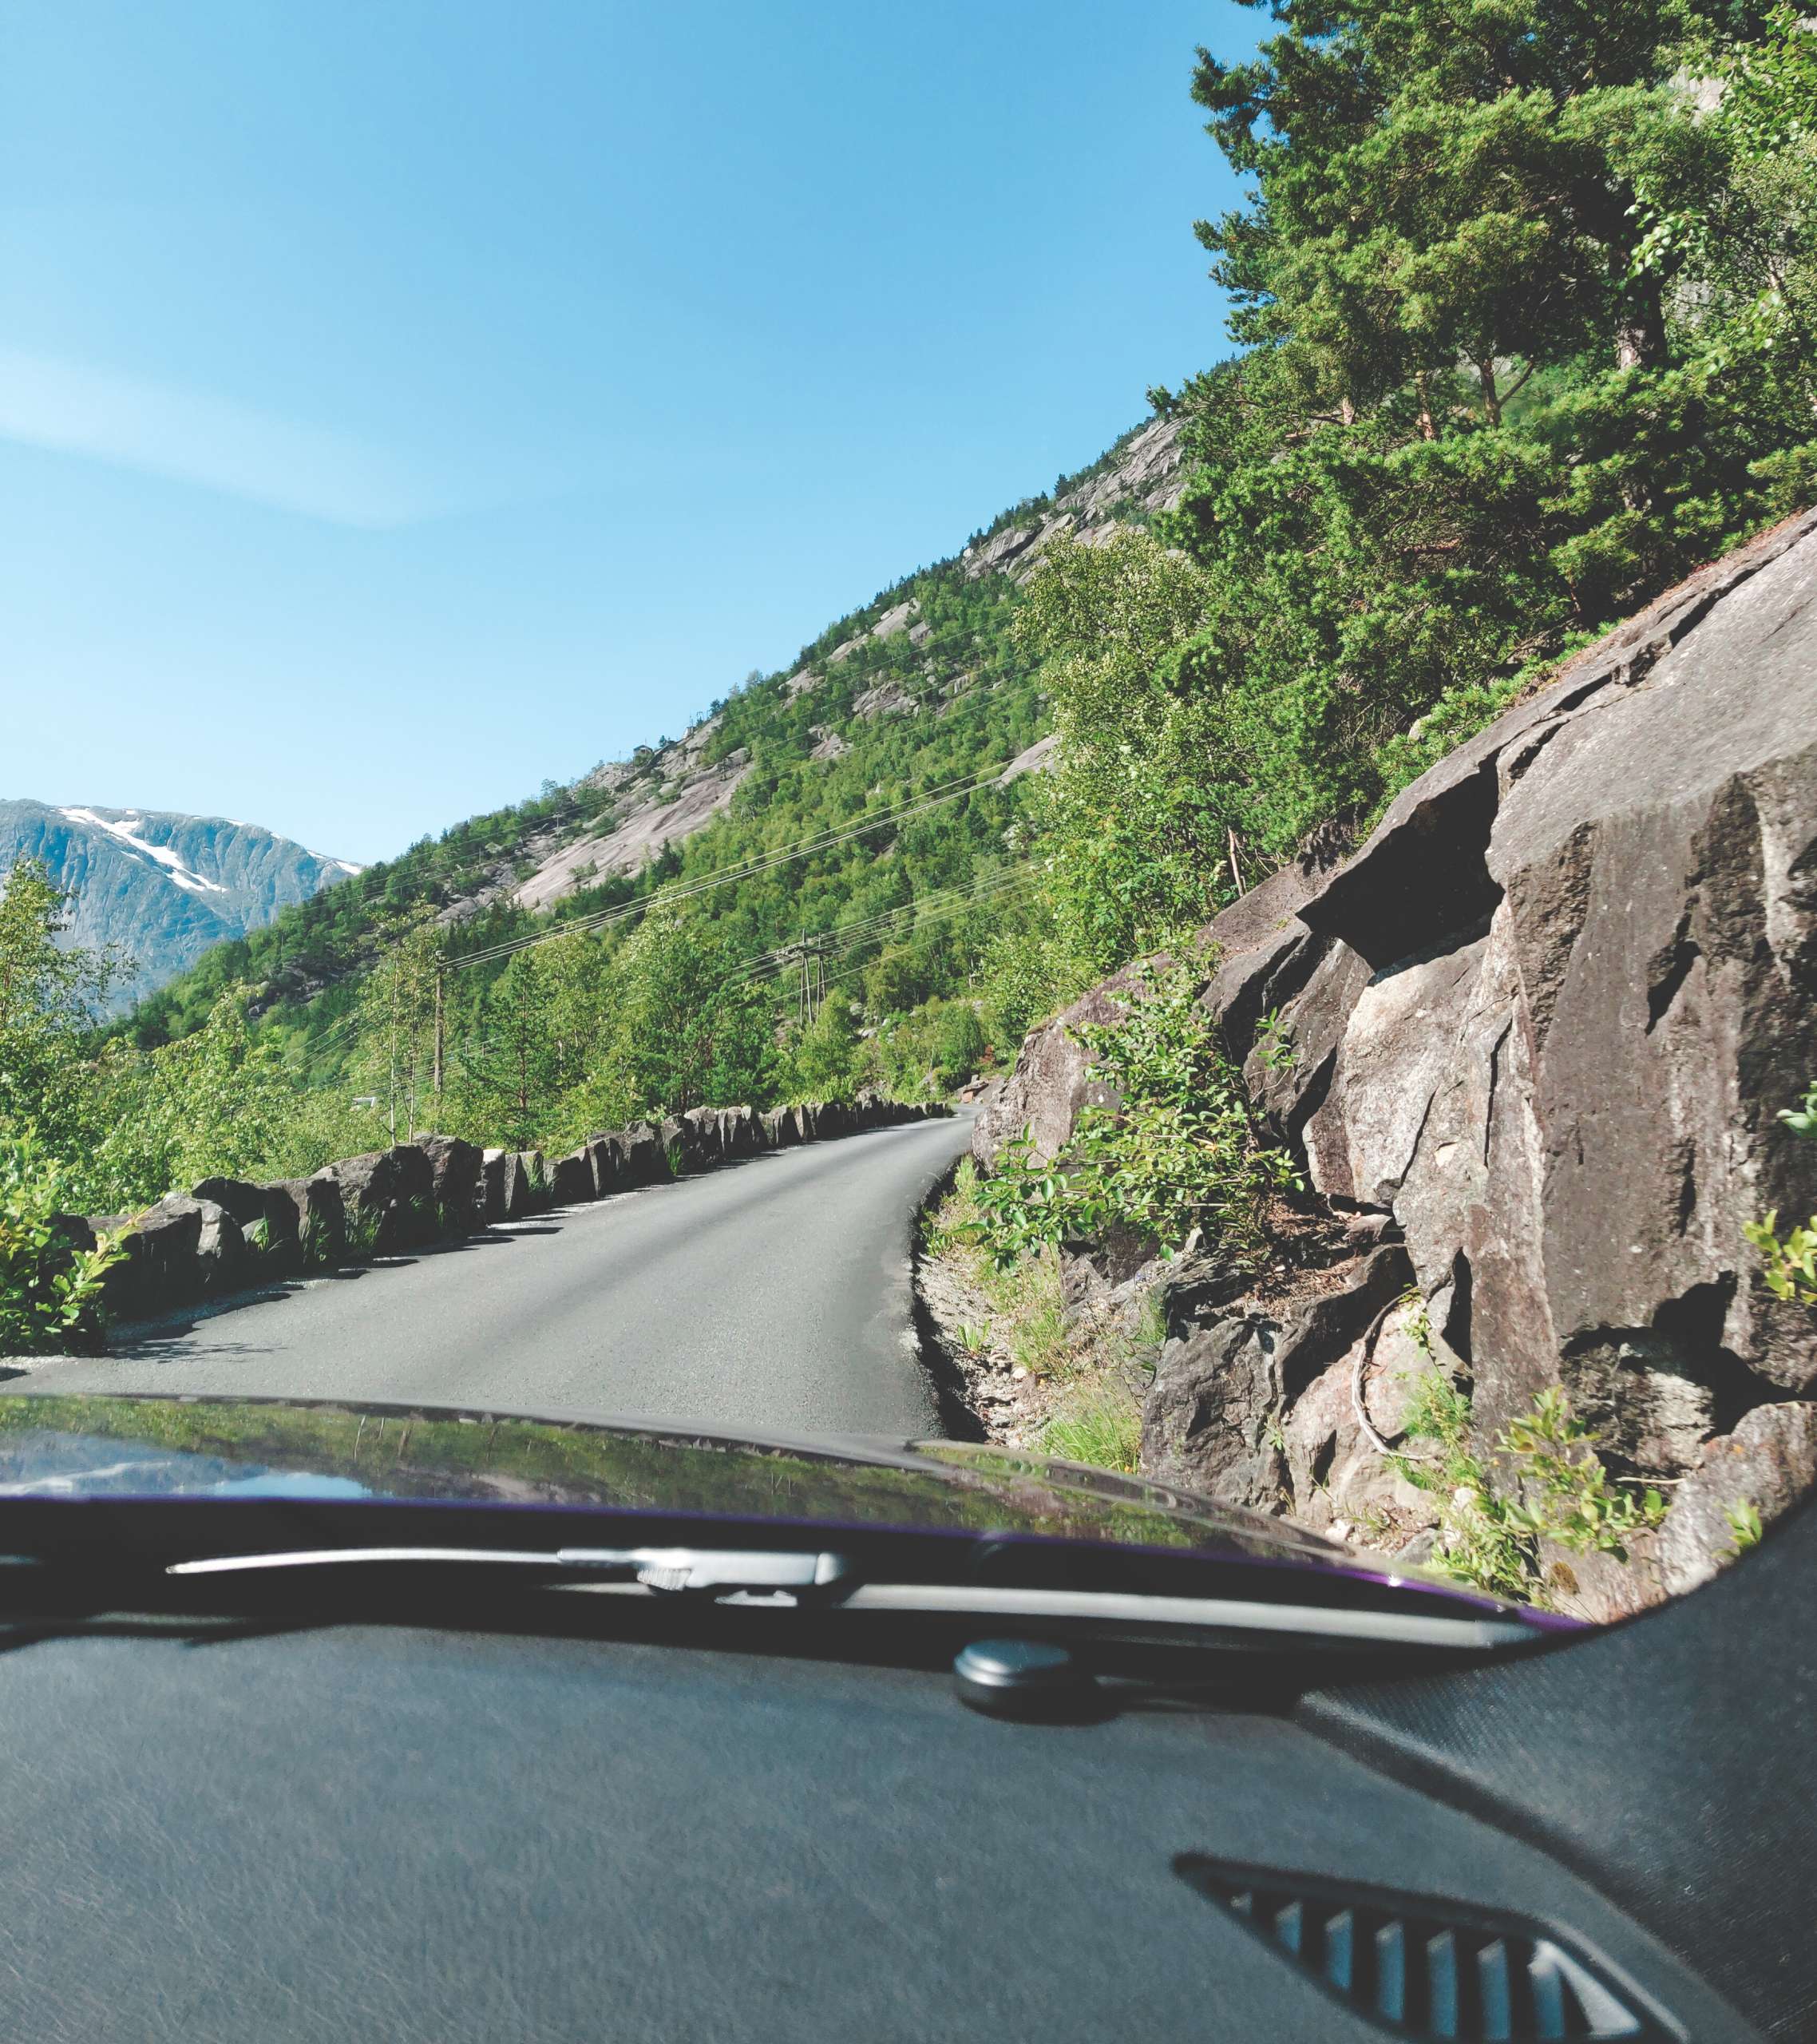
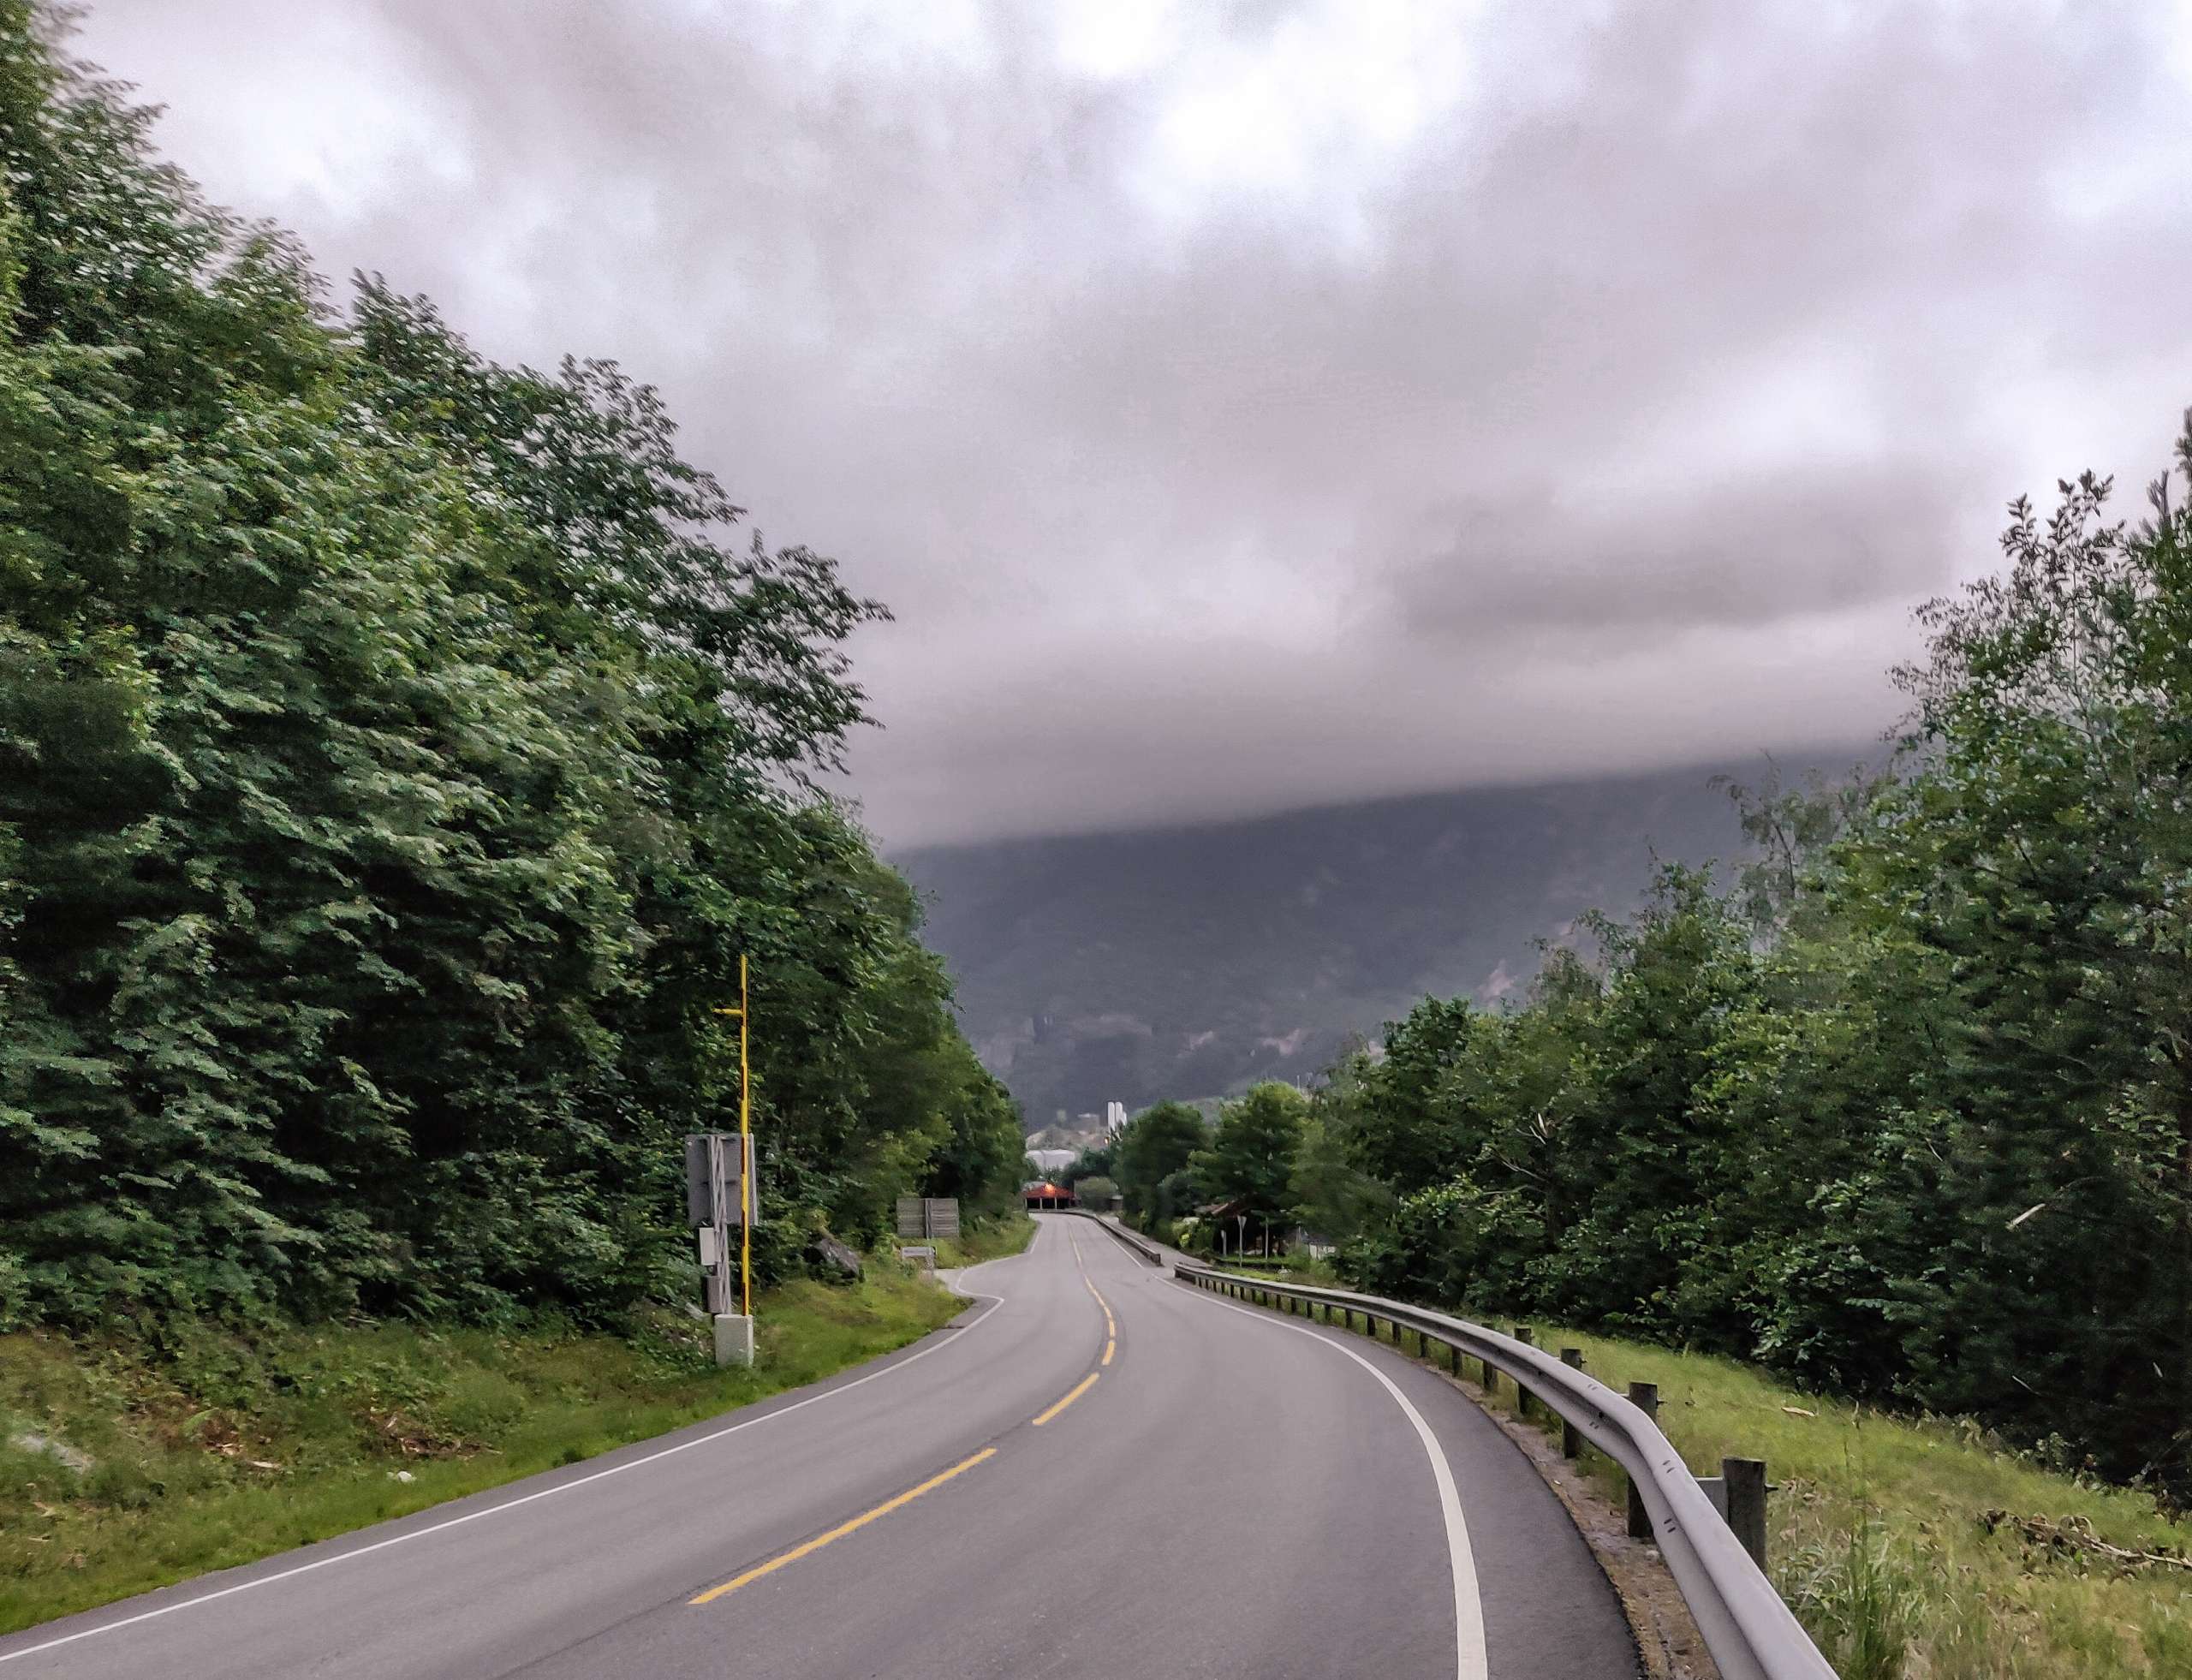
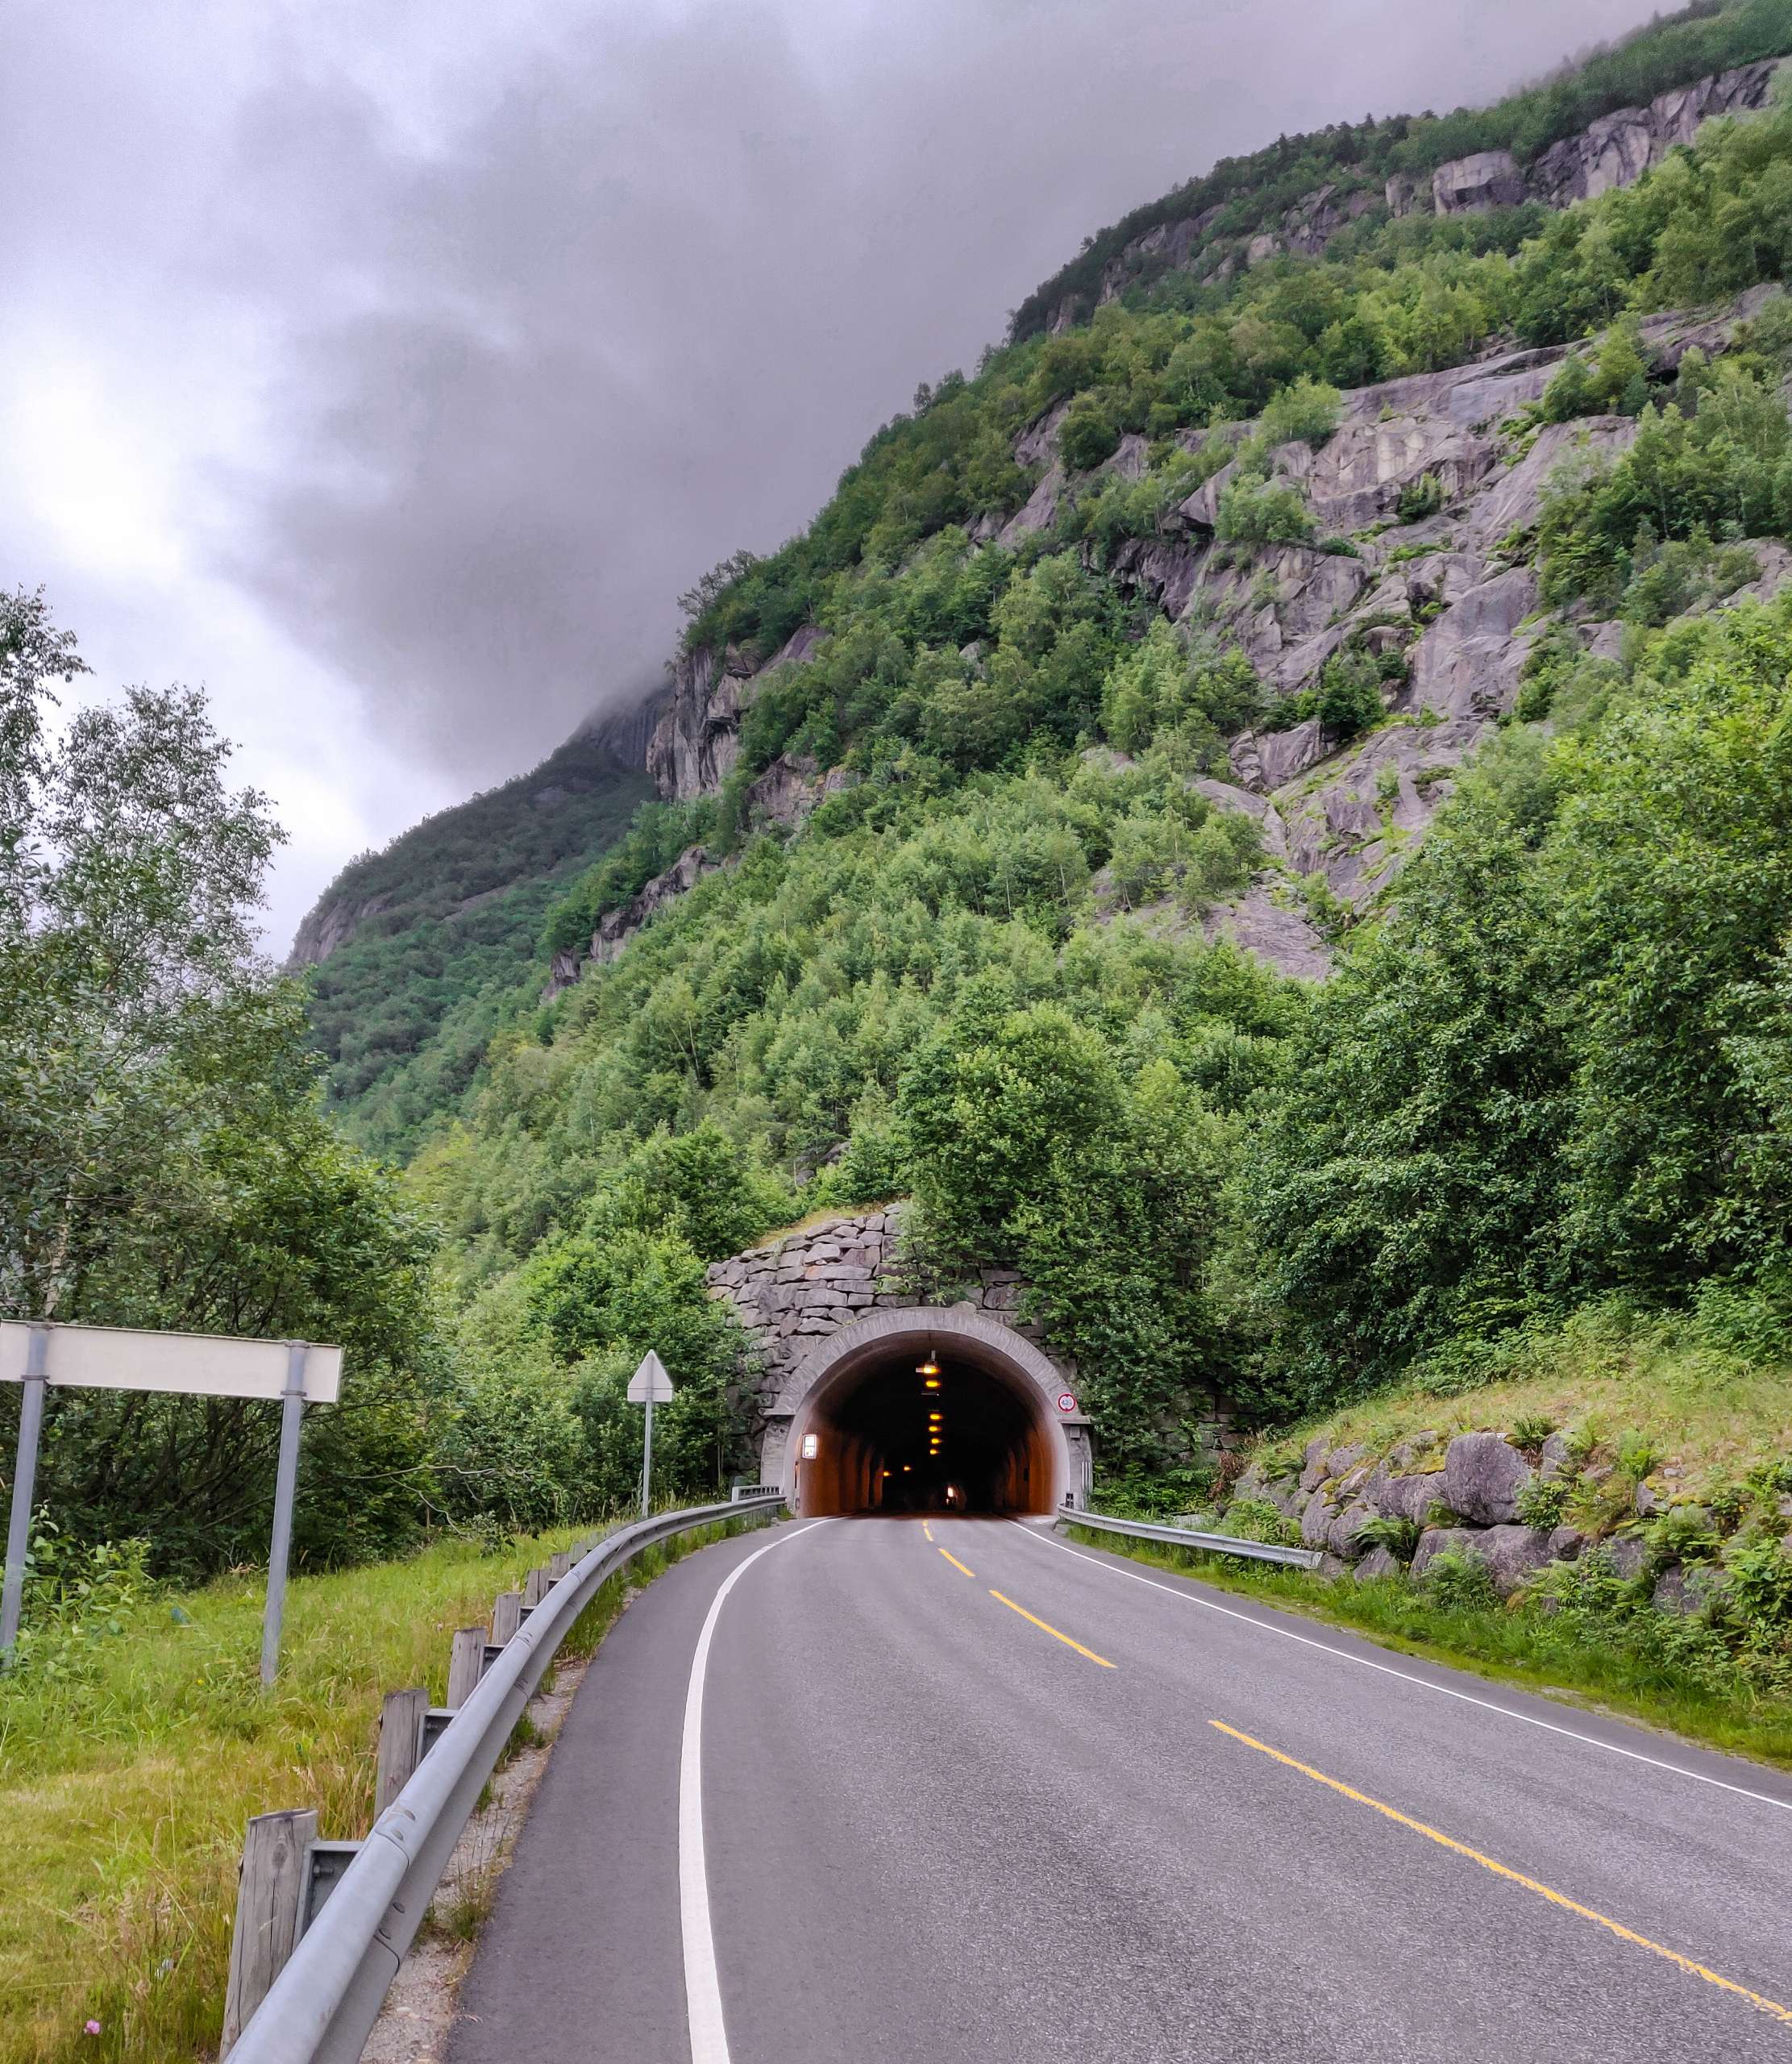
I started from Bergen at around 840 am. I took Rodne fjord cruise from Bergen to rosendal and it took me about 2 hours to reach Rosendal. The ferry ride was extremely comfortable and the scenery of the Norwegian fjord was absolutely epic. The one-way ferry ticket costs around 360 krona. It was a weekend and the bus frequency was not that great. I waited for around 3 hours for my bus to Odda. Rosendal is a beautiful small town and it is popular tourist destination of Norway. The town is surrounded by mountains from one side and the other side you can see beautiful views of Norwegian fjord. At around 1.30pm I took bus 760 from Rosendal bus station to Odda Bus station. I slept throughout the entire 1-hour journey from Rosendal to Odda. I reached Odda around 2.30 pm and I immediately took taxi from Odda bus station till Skjeggedal car park. The taxi ride took around 30 minutes but it was very expensive. I was alone and I paid 600 NOK for the ride. From Odda to Tyssedal the road is very nice but after Tyssedal the road is very narrow and steep. We were very fortunate that there was no traffic from the opposite direction.
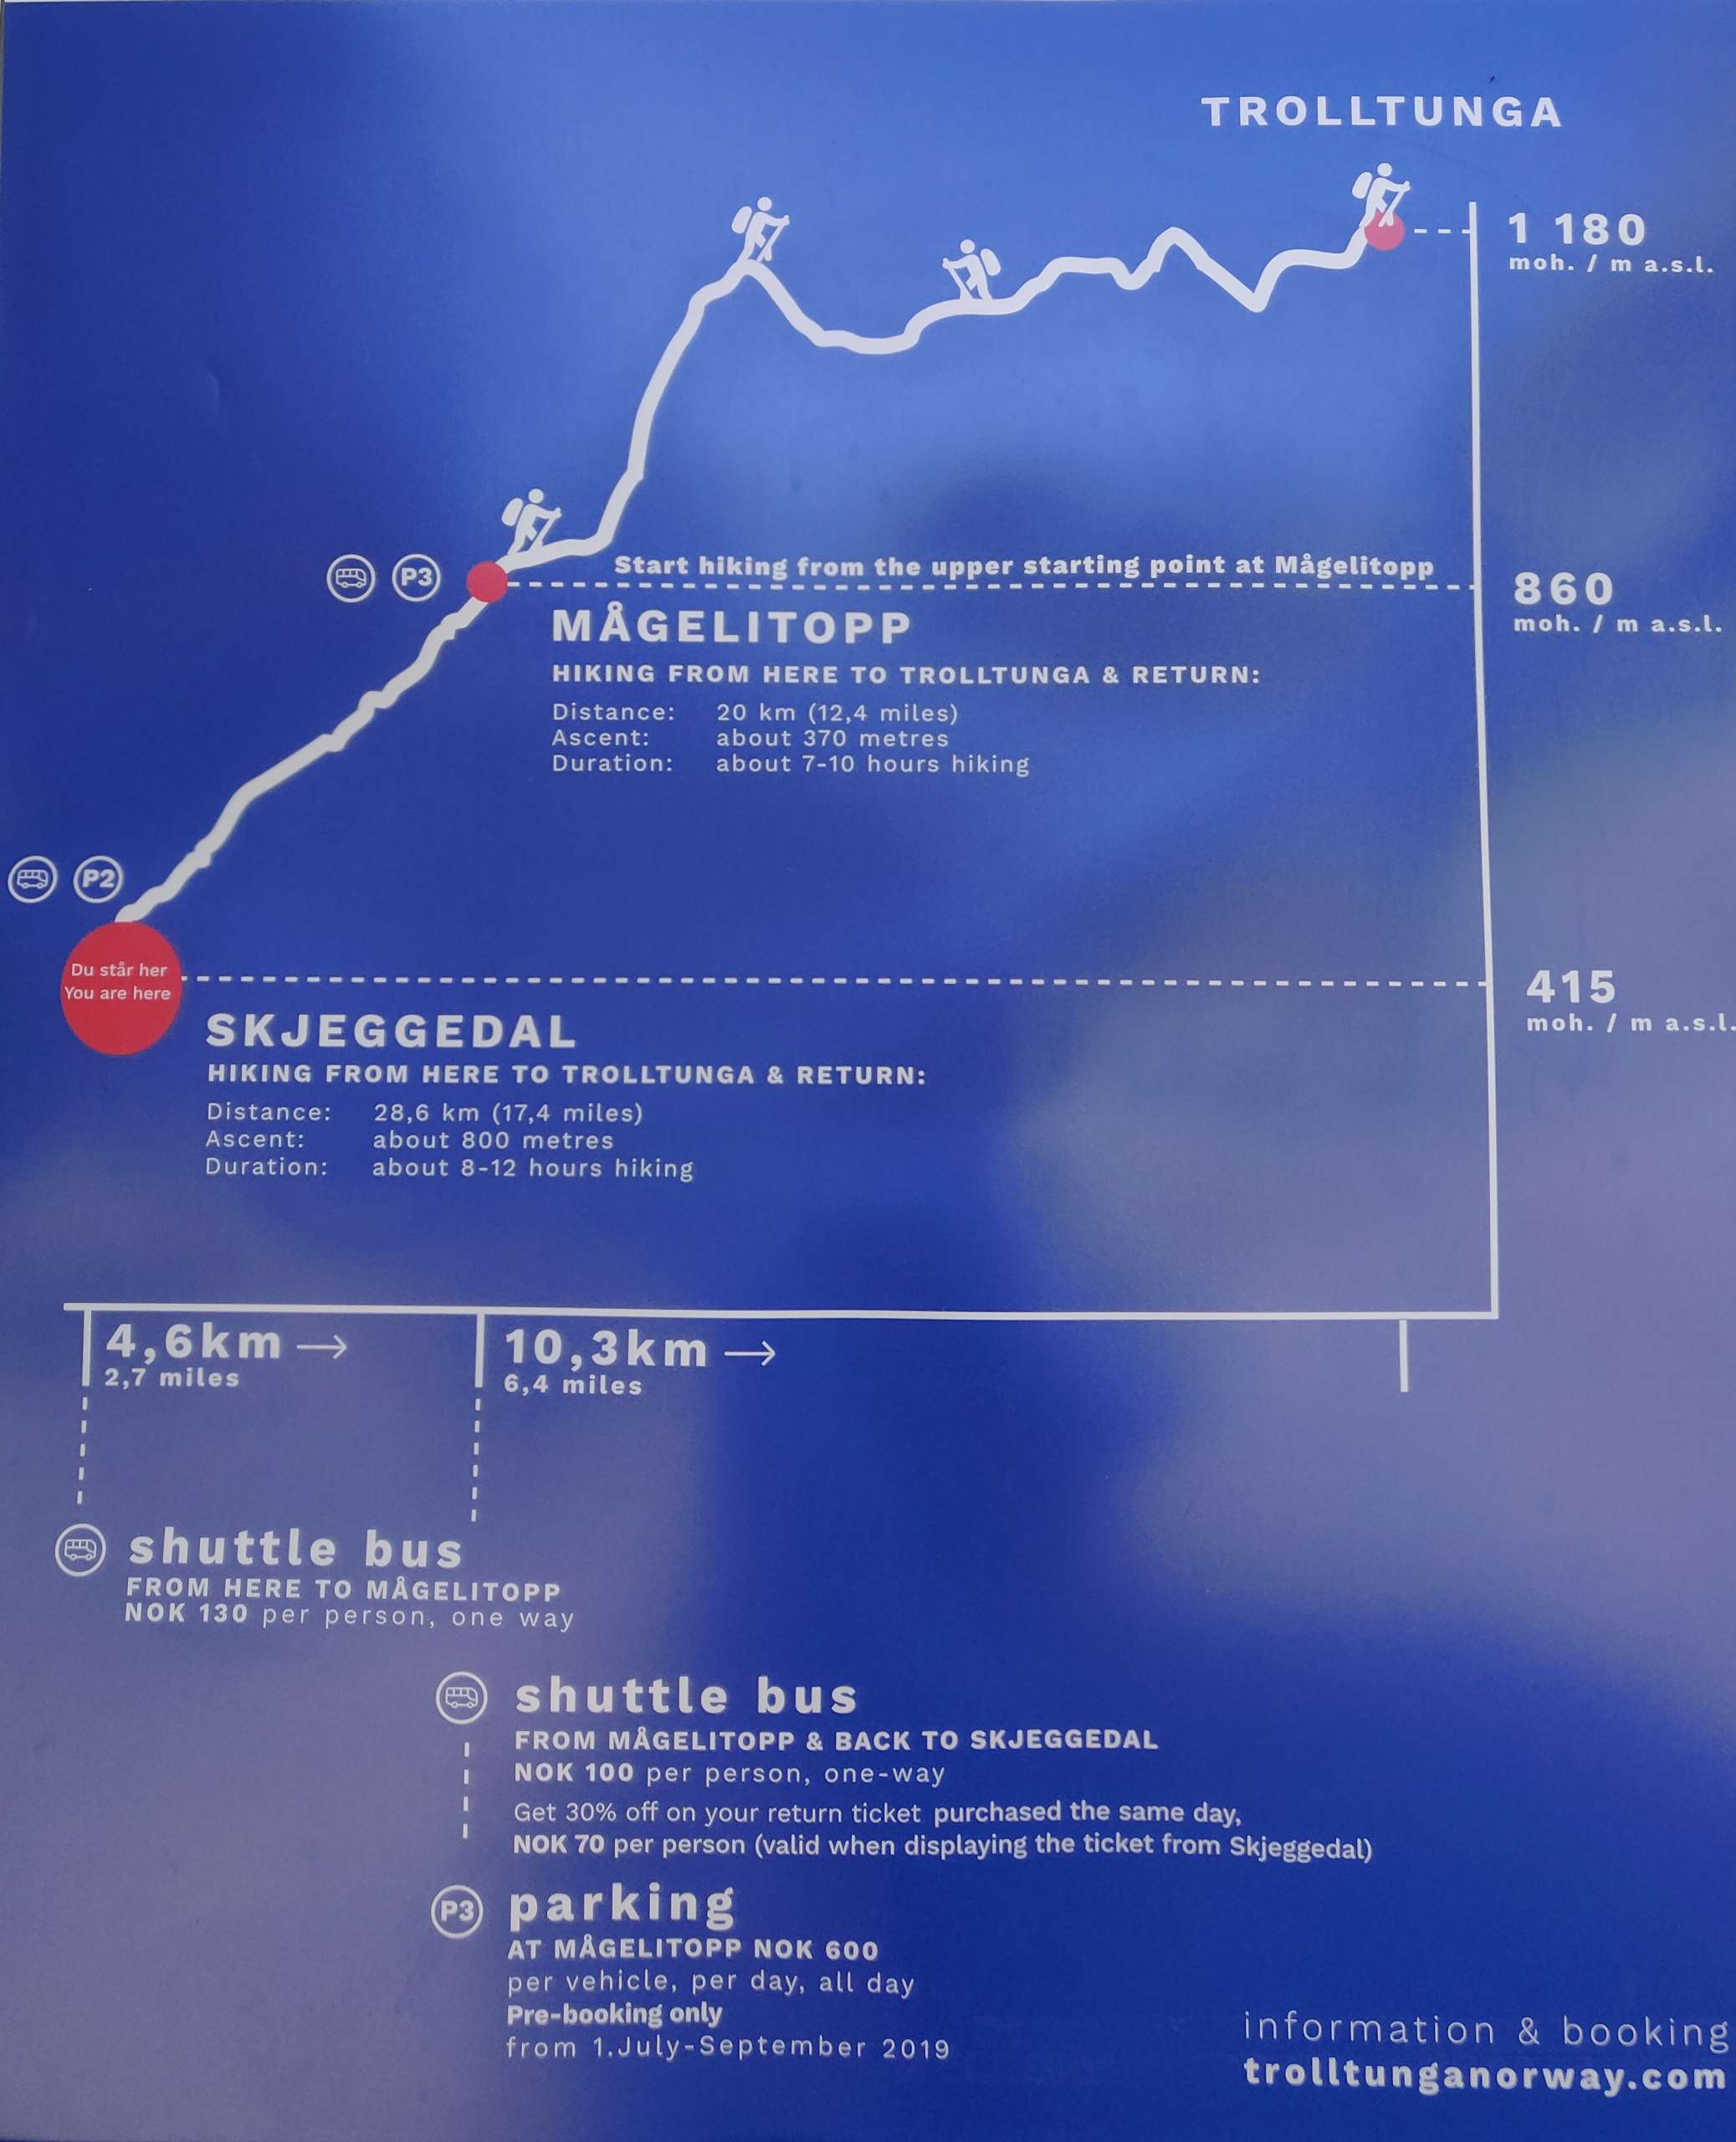
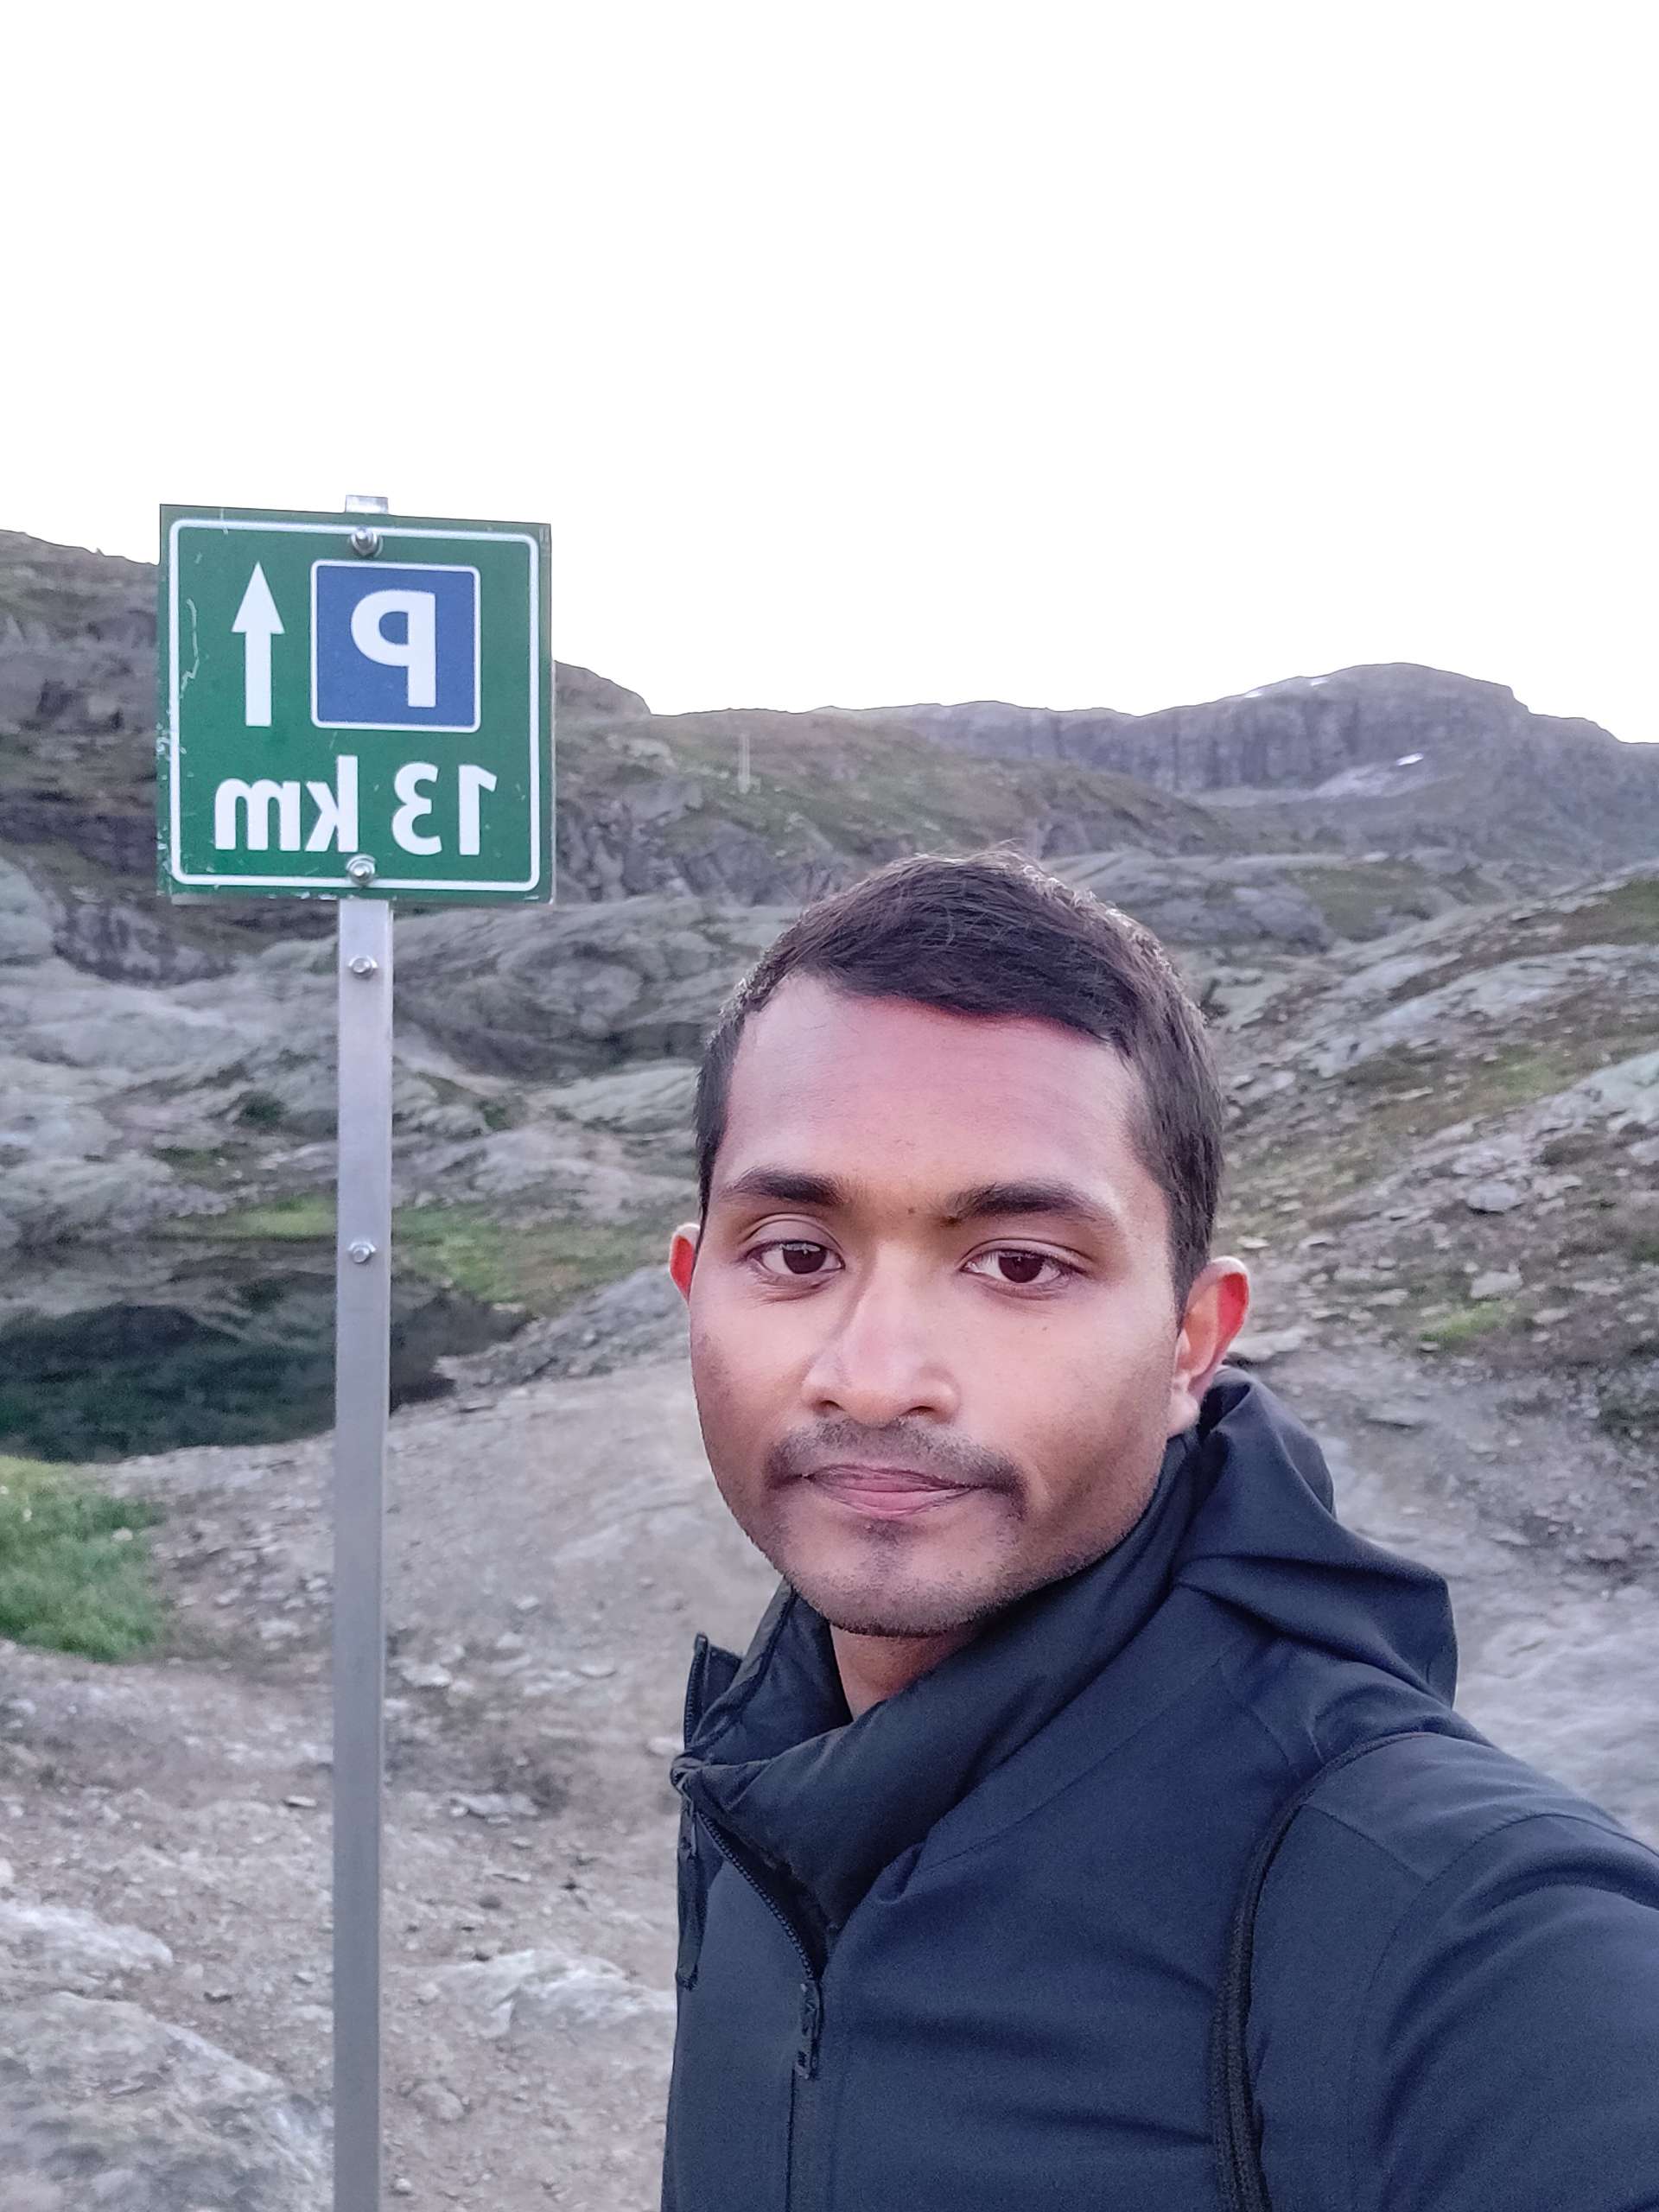
The round trip hike to Trolltunga from car park takes about 8-12 hours depending on your fitness level. You will cover a distance of about 28 km and you will climb altitude of 800m from the car park. I took shuttle bus from Skjeggedal to Magelitopp which is an upper starting point of the hike to Trolltunga. The hike from Skjeggedal to Magelitopp is very boring because you have to walk along the road during this part of the hike. The bus will take you 400m higher and you will cover first 3 km of the hike. The hike to Trolltunga from Magelitopp is still long 6-8 hours hike and I saved almost 1.5-2 hours of the hike by taking the shuttle bus. The shuttle bus departs every 30 minutes from the car park and the cost of the ticket is 130 NOK. I took the 4pm shuttle bus and it took around 15 minutes to reach Magelitopp hike starting point. I was the only one riding the shuttle and the shuttle bus driver told me I was too late for the hike. I was not carrying any camping gear because I was planning to come down from the mountain during the night time. The night lasts about 4-5 hours in Norway during the summer season so I was really confident that there is no need to camping. I was confident that I will be very fast in hiking because I will not be carrying any heavy gear during my hike. The total cost of reaching Magelitopp from Bergen is whopping 1190 NOK. I saved my 1 night accommodation cost because I started same day in the morning. I was really happy because I will be doing the hike in opposite direction and there will be no queue at the mountain.
I stretched my leg for 15 minutes and ate some protein bars. I started my hike at around 4.30 pm and I was targeting to reach Trolltunga in next 3 hours. I was carrying extremely light back pack. I had bunch of protein bar, drone, go pro, torch light and a rain coat. It was very basic and light. I saw lot of people coming down the mountain but I didn’t see anyone going up. I started almost running instantly because the path till 4km mark was well laid out and the terrain was relatively flat. I reached the 4 km mark in no time.
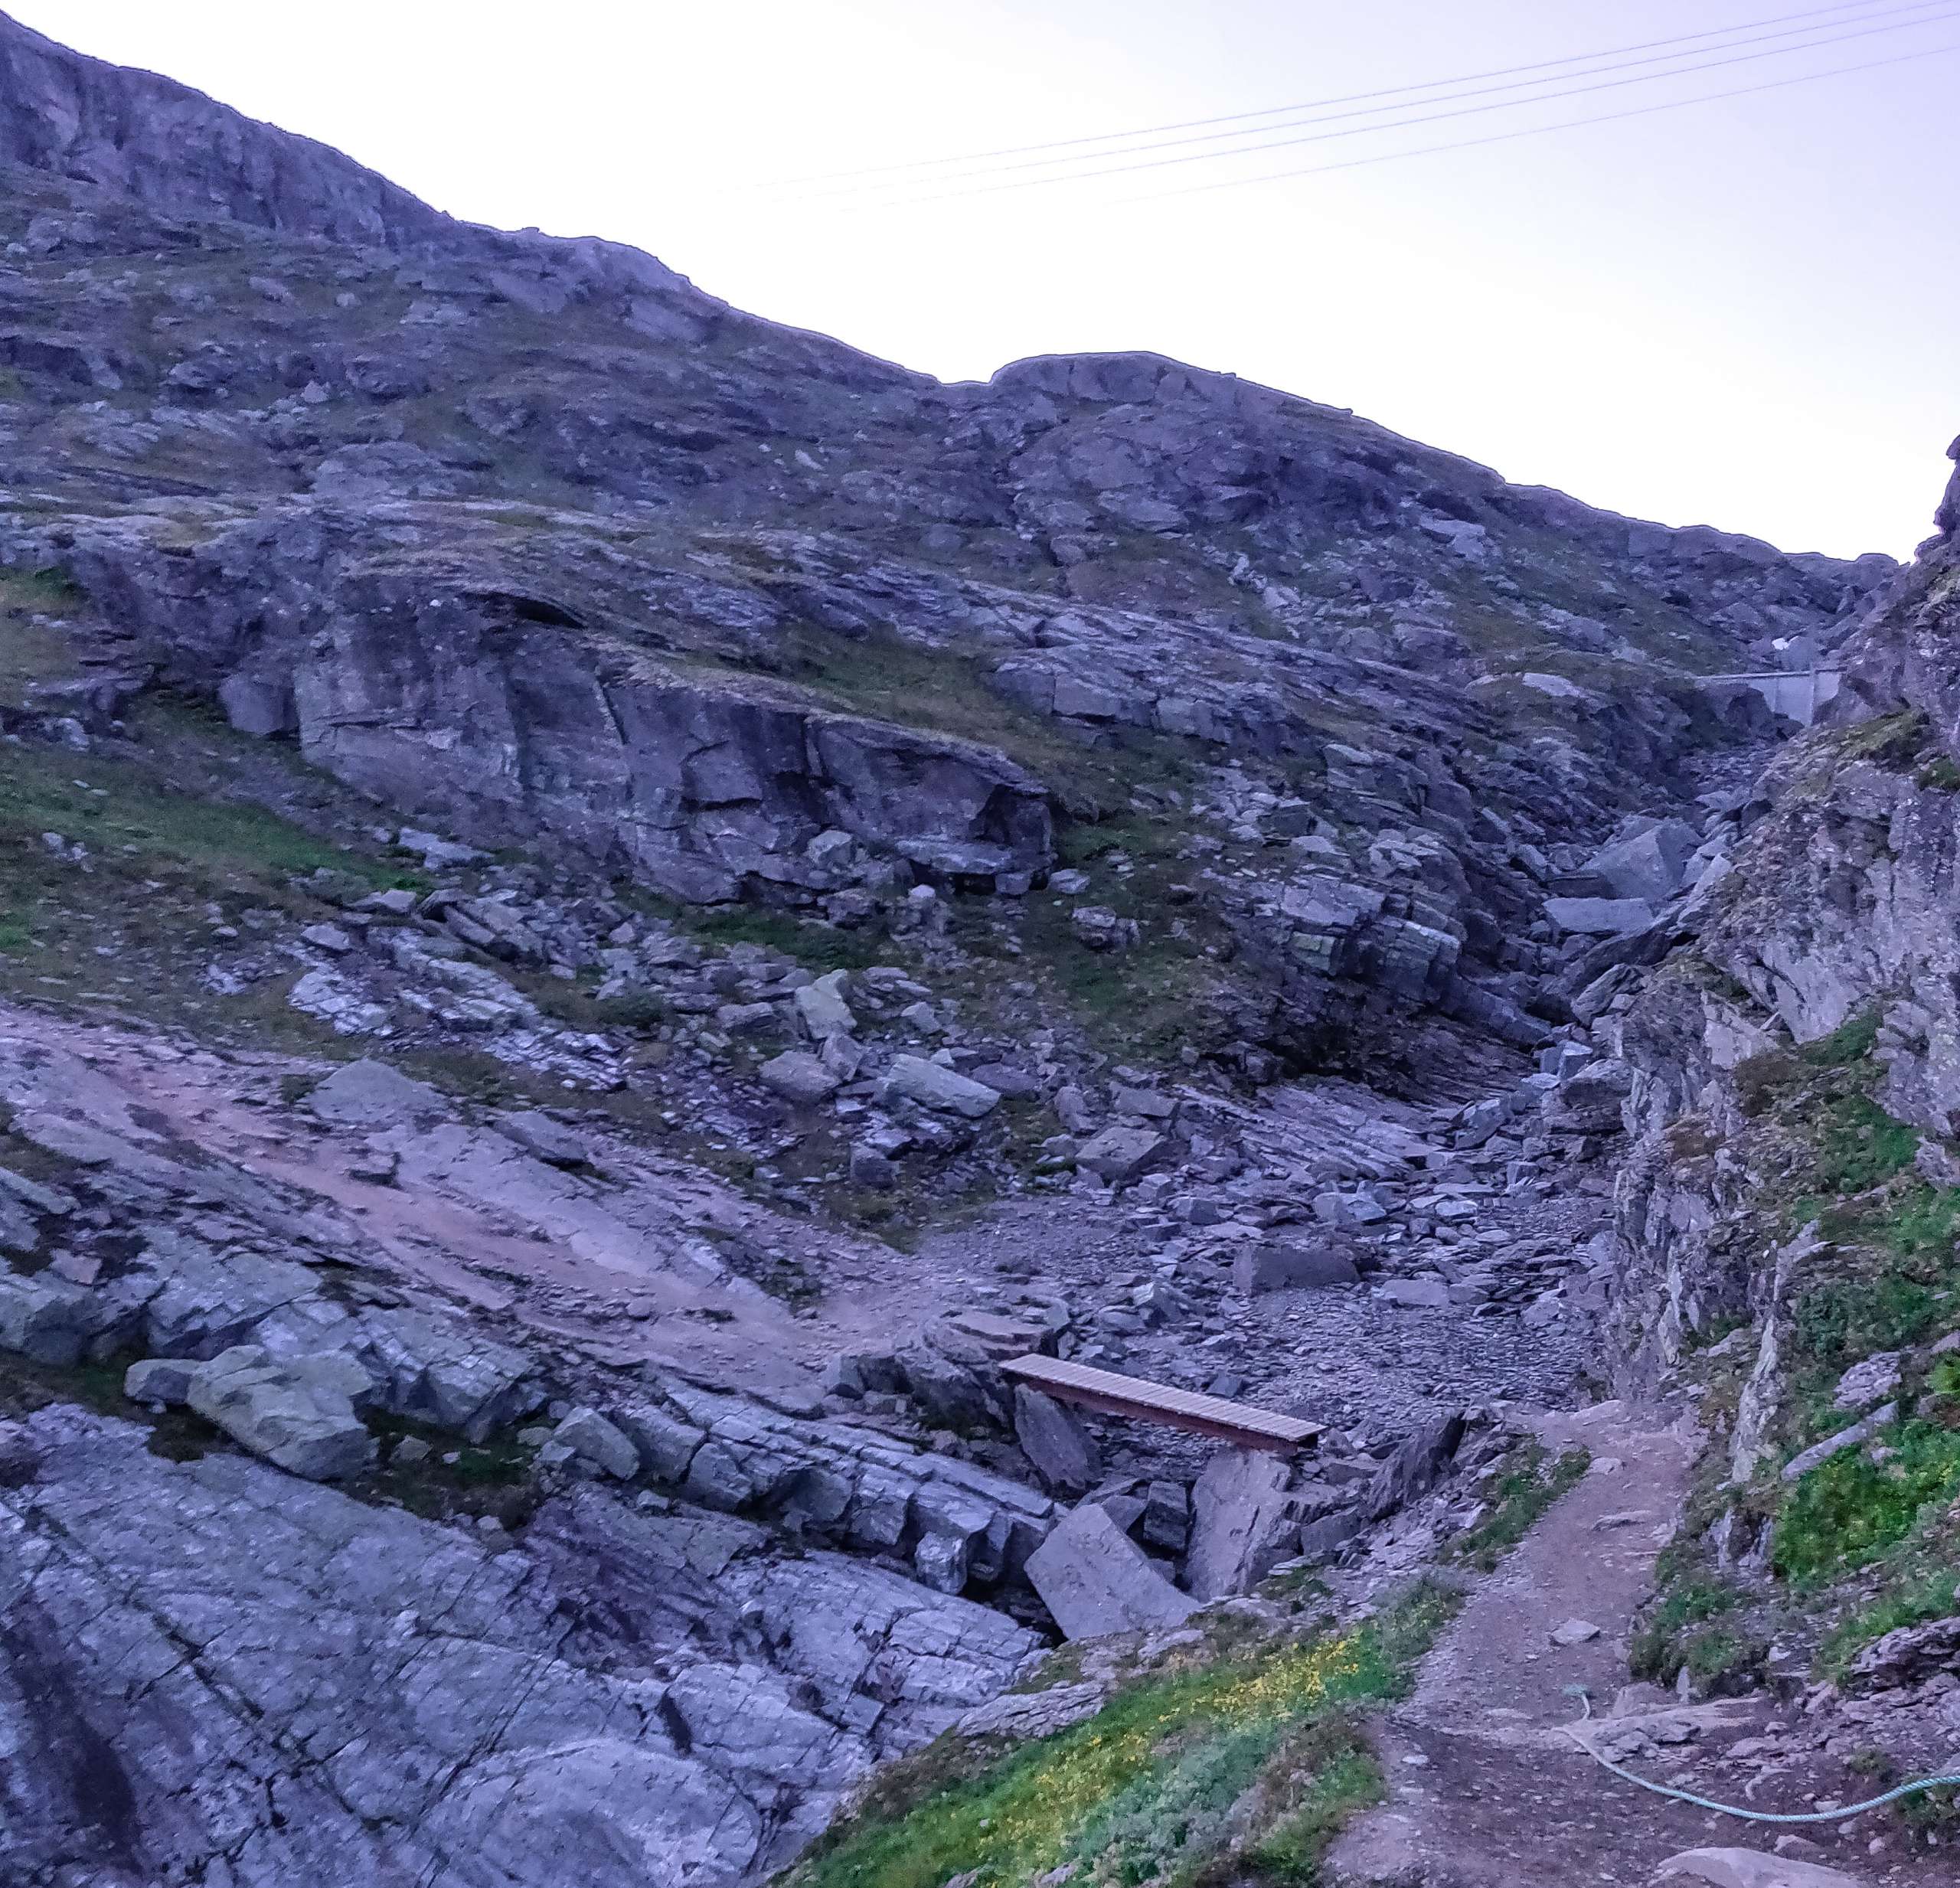
I consider myself extremely fit and I do lot of hiking every weekend. This is a long physical hike and it is very demanding. Most people will not attempt to do this hike solo because it is physically demanding and dangerous. The path to Trolltunga is properly laid with pointers. There is no way you will be lost during the hike. You will be hiking on the mountain throughout the entire hike and you will not see any section of the trail full of trees. You cross lot of streams on your way to Trolltunga. In Norway it is perfectly fine to drink water from the stream so no need to carry any water bottle. After 4km mark I reached an enormous mountain valley. It was the toughest part of the hike and I think you will straightway climb about 400m up till you reach the 5km mark. I saw most people struggling at this section because it was steep. You will climb stairs for some part of the section but most part of the hike you just have to follow the normal path. It is also difficult for people coming from other side because it is steep and this increases chances of slipping. I didn’t take any break and smoothly crossed this section of the hike. The weather was hot and I was sweating a lot because of strenuous climbing. I removed my jacket and I was pretty sure that the tough section of the hike was behind me and it will just be flat hike for the next 6 km. After completing the section, you will see a beautiful lake. The trail follows around the lake and you will exit on the other side of the lake. I saw most people taking bath in the lake after finishing their hike. I will not suggest anyone to fill their water bottle from the lake.
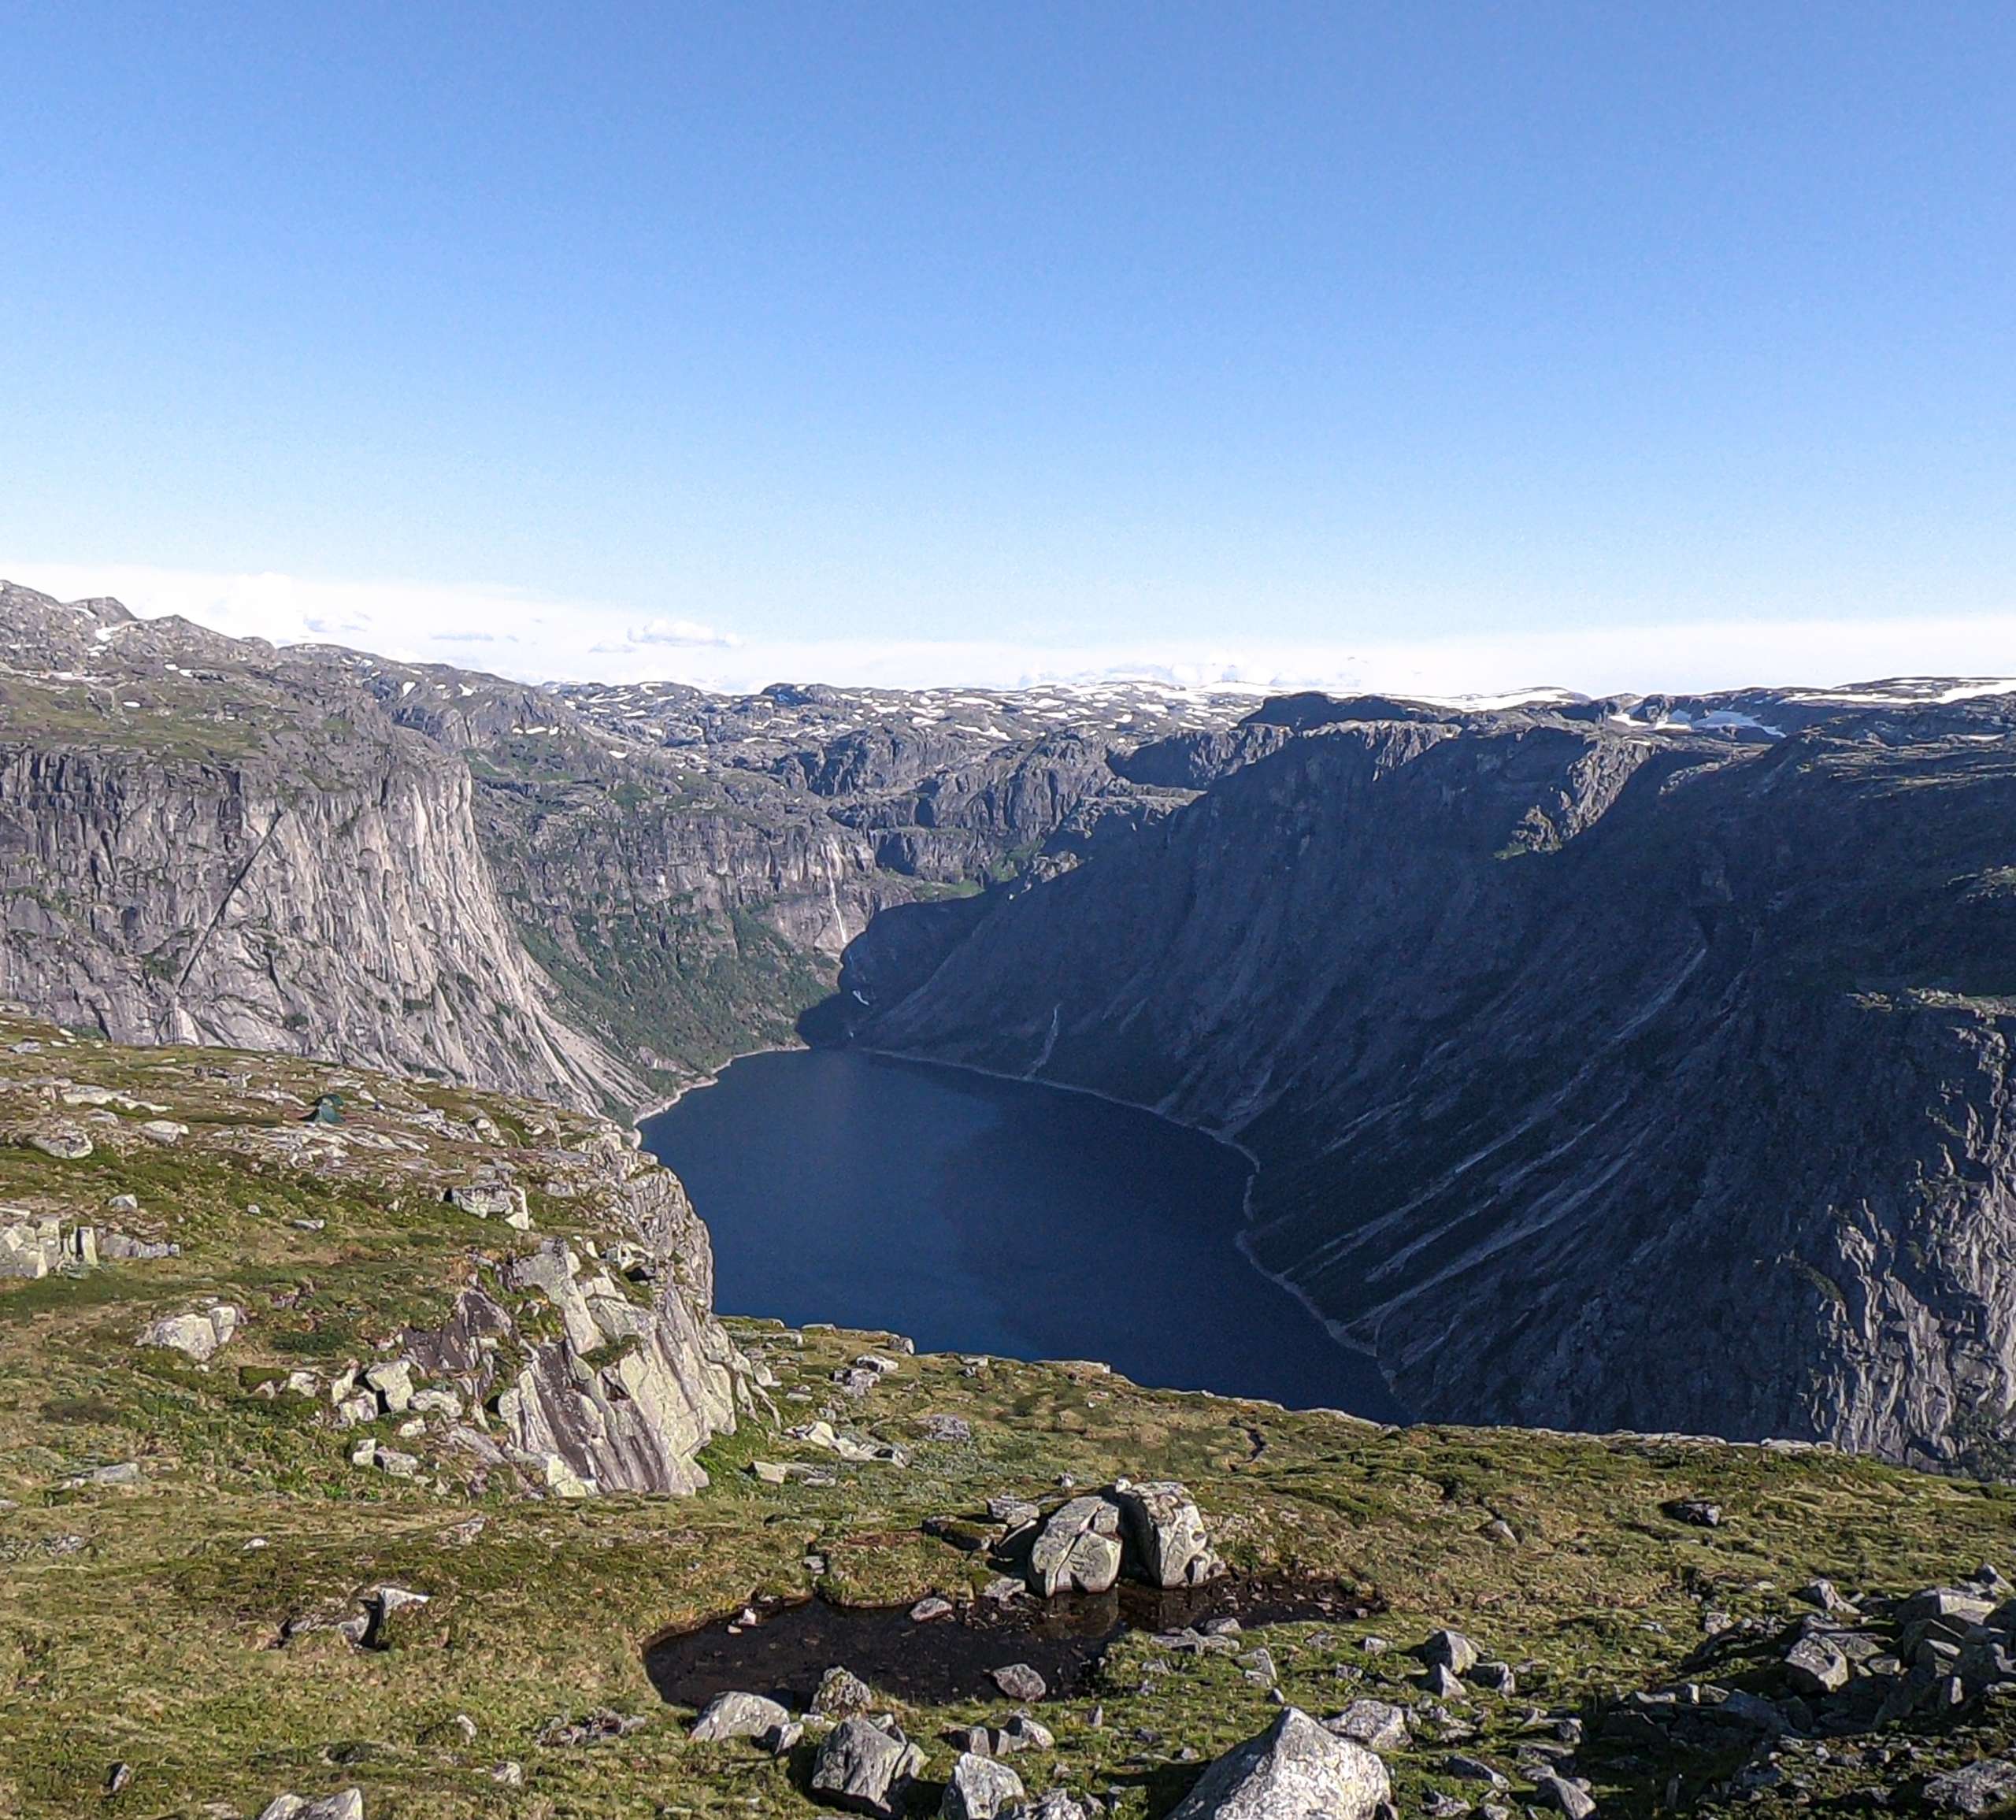
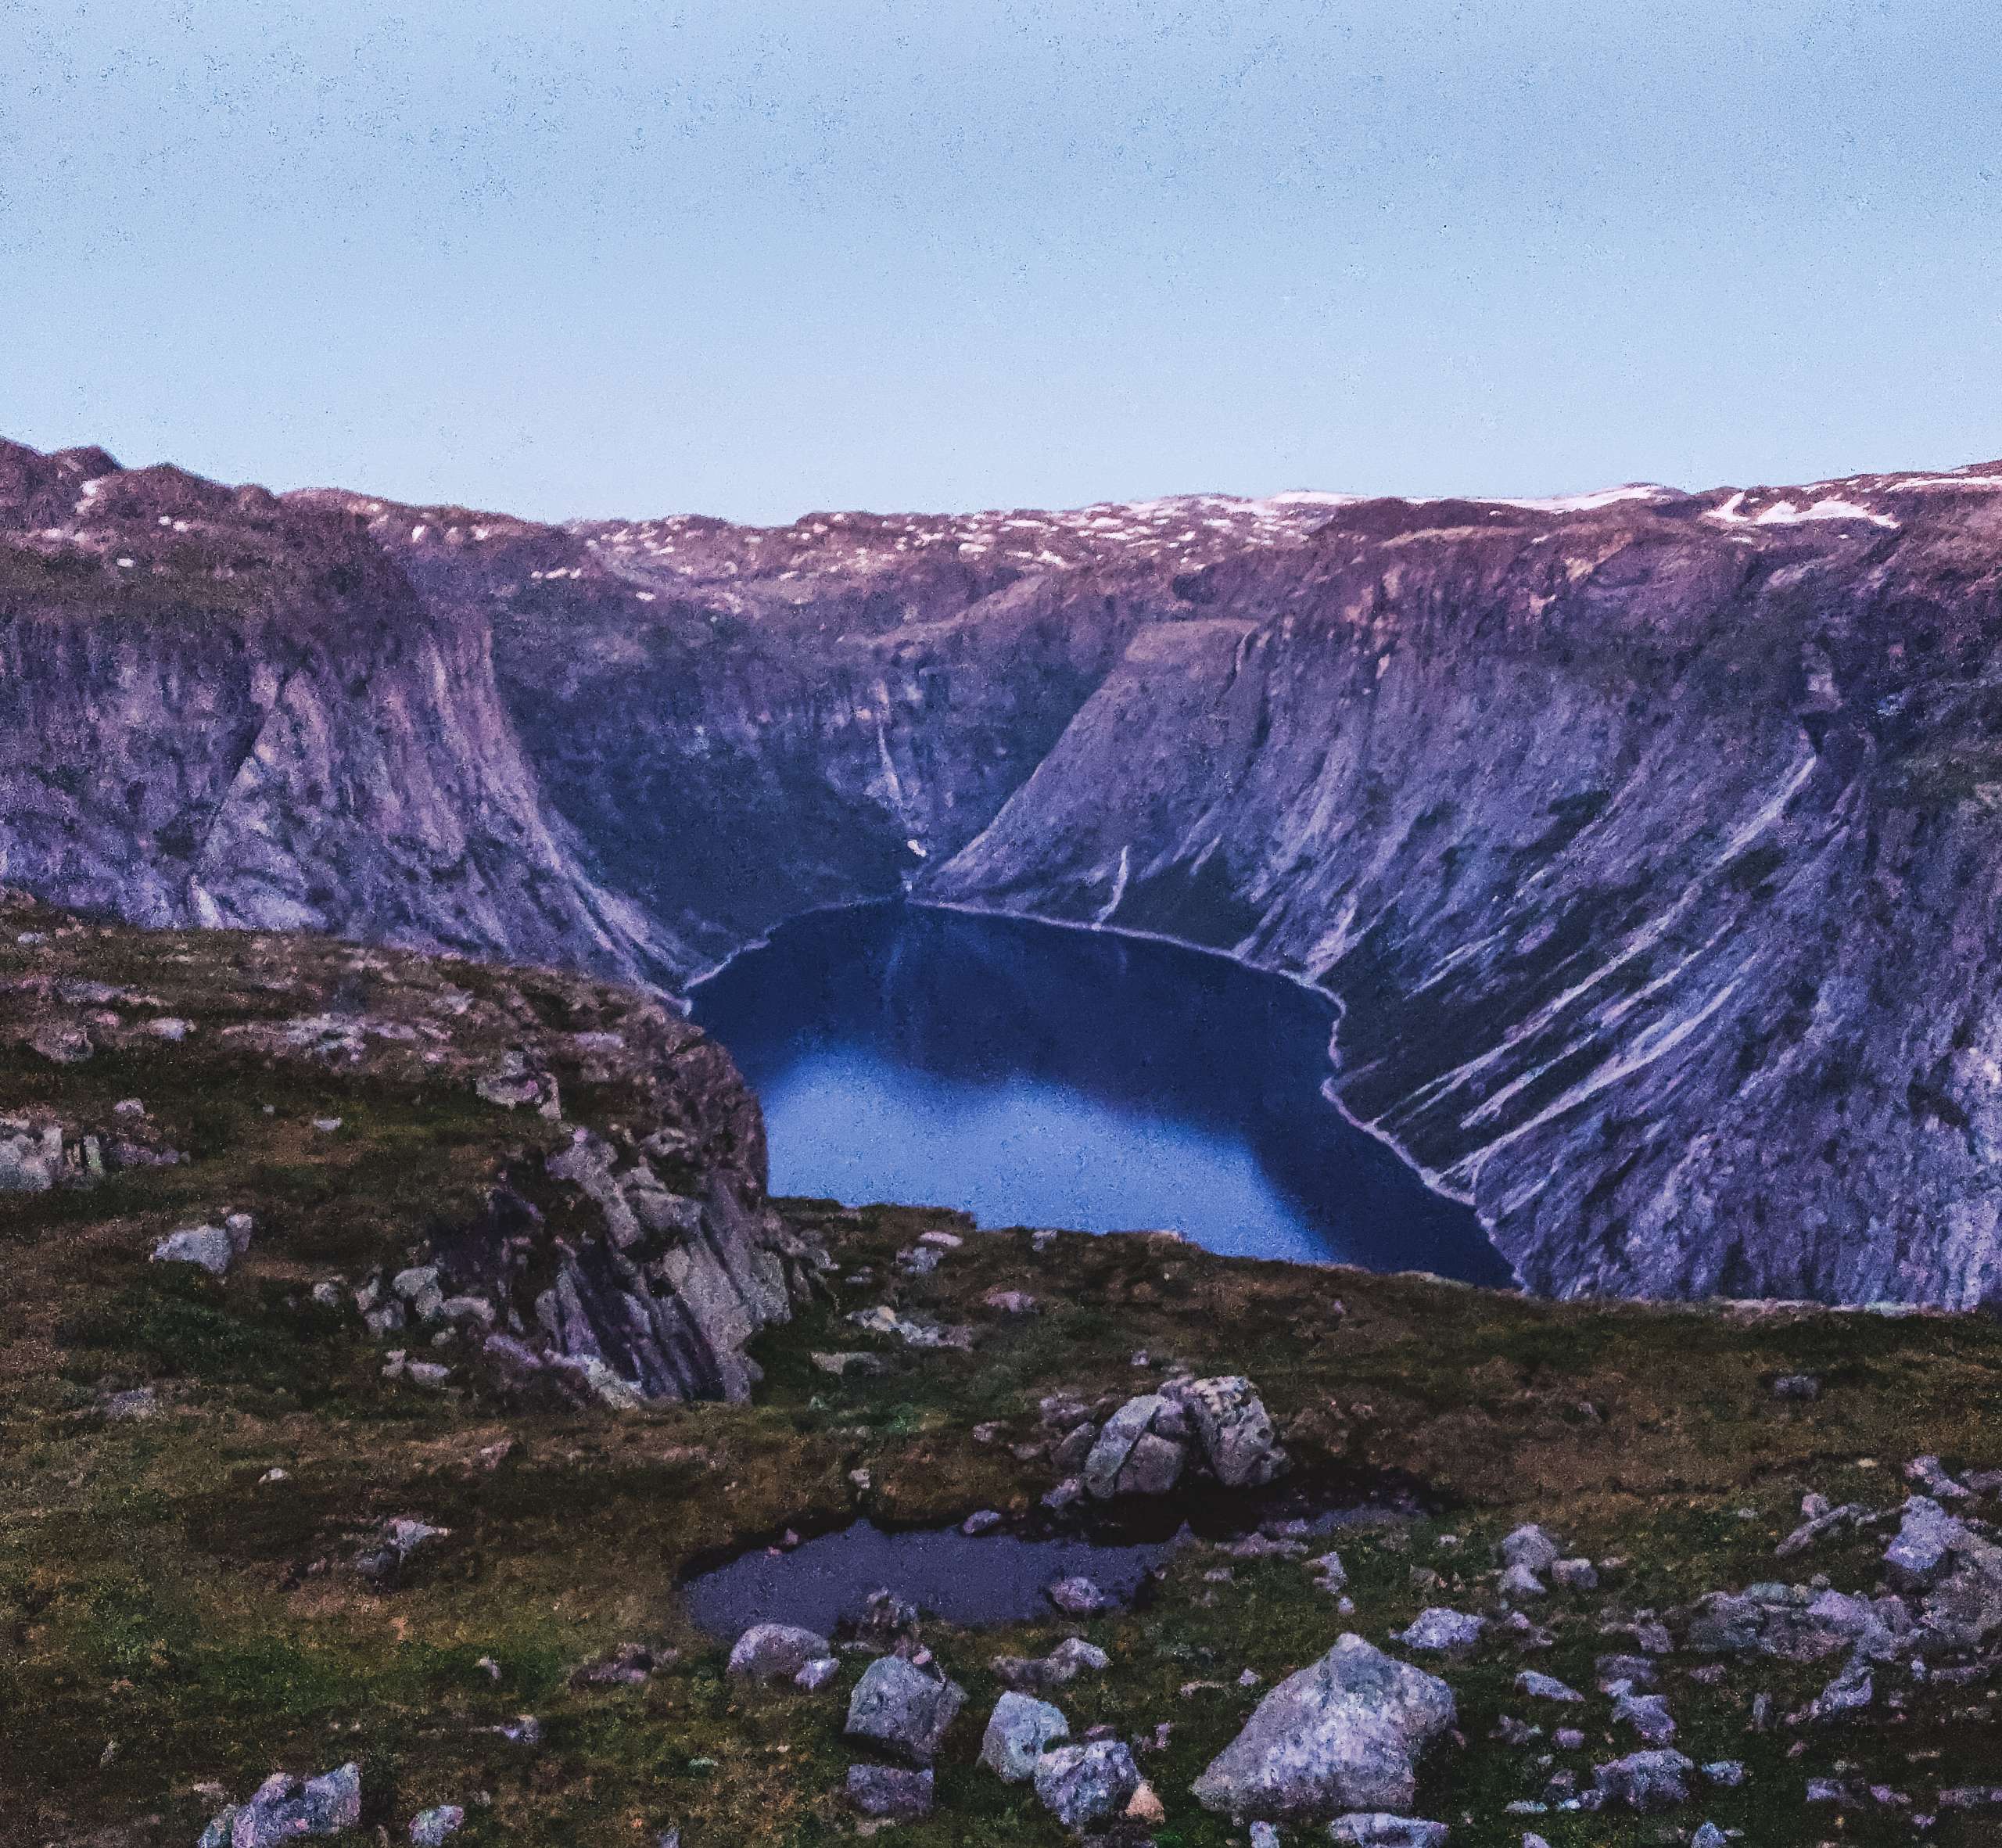
After crossing the lake, you will see a beautiful valley where you can camp during your hike. The emergency hut is located after crossing 5km mark. The mountain guard stopped me at this point. The time was 6pm and I was constantly hiking fir about 1.5 hours. She asked me whether I was planning to camp at Trolltunga or planning to come back. I told her that I will start coming back after reaching Trolltunga. The mountain guide was impressed with my pace and told me that I should be able to reach the Trolltunga in next 1.5 hours because the terrain is relatively flat. The emergency cabin should be only used for emergency purpose. After crossing the 5km mark the path was little steep but it was immediately followed by a downhill path. I was running on the trail if I see any stretch of flat terrain. I saw the first glimpse of lake Ringedalsvatnet at the 6km mark and it was absolutely stunning. The lake is located near the Trolltunga mountain. I ate protein bars and drank water and took 5 minutes’ rest. I crossed most hikers who started near the 4km mark and I was the only one going up and most hikers were coming down from Trolltunga mountain. There were lot of up and down section at this part of the hike.
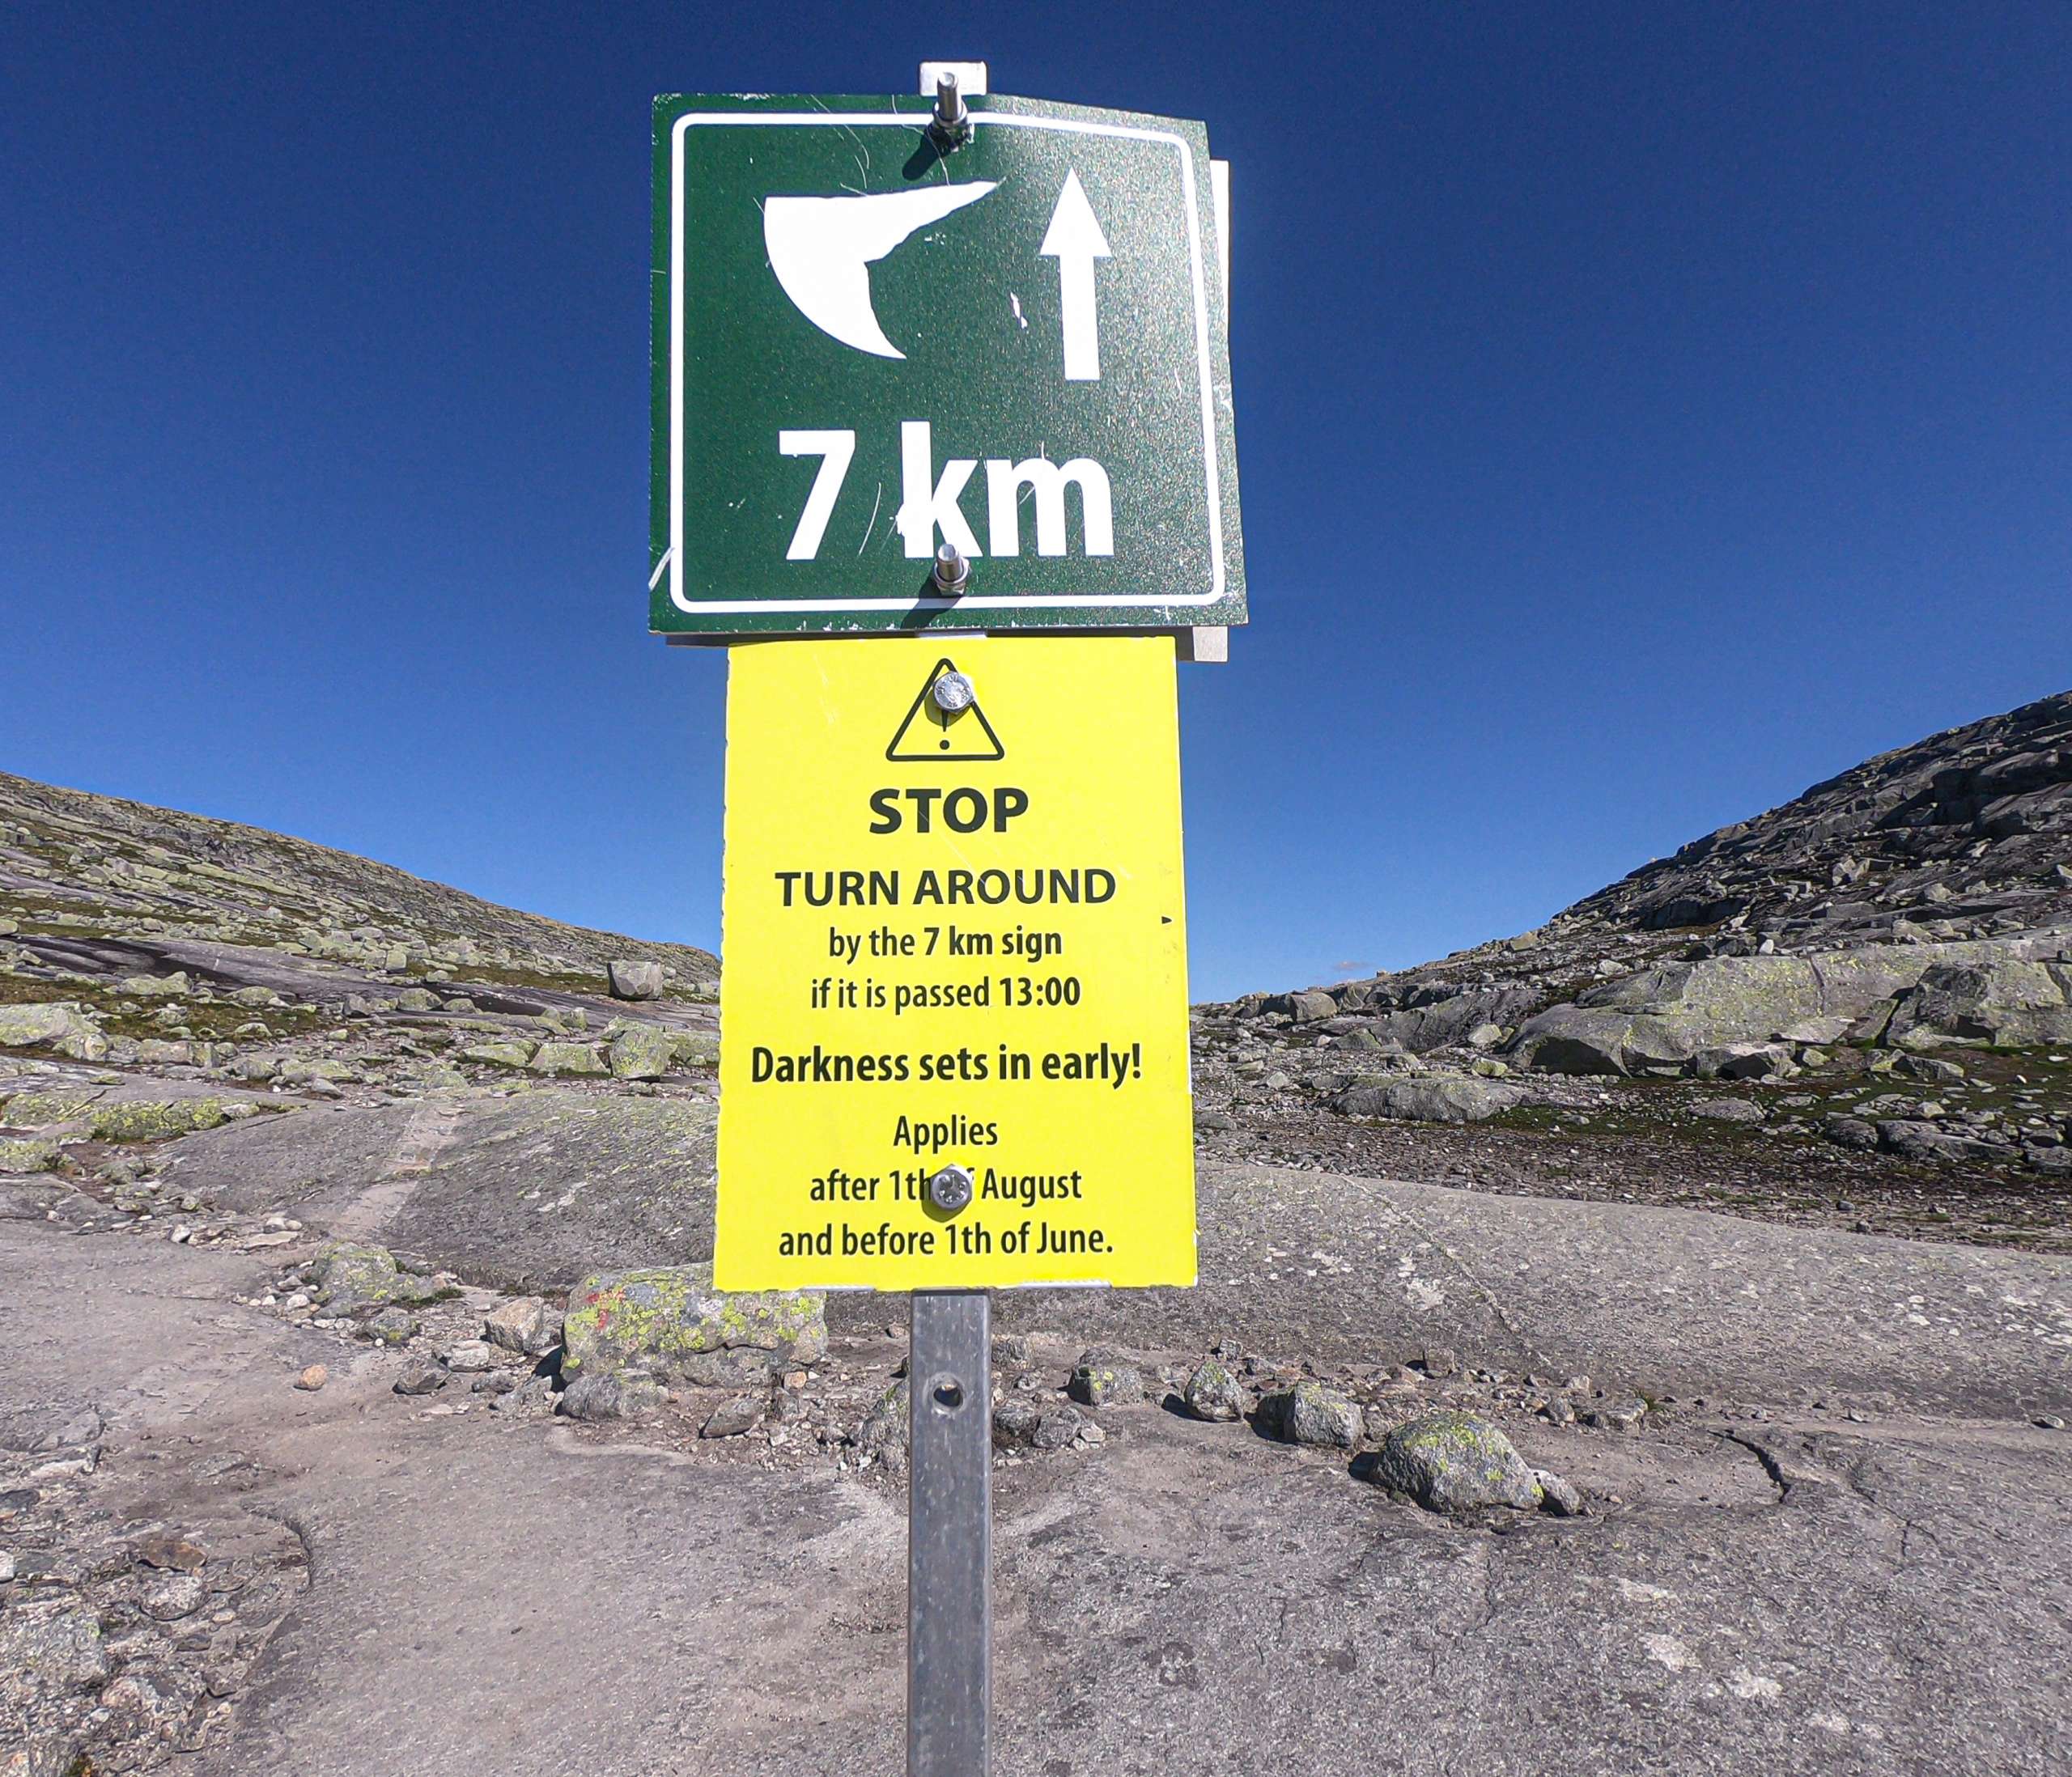
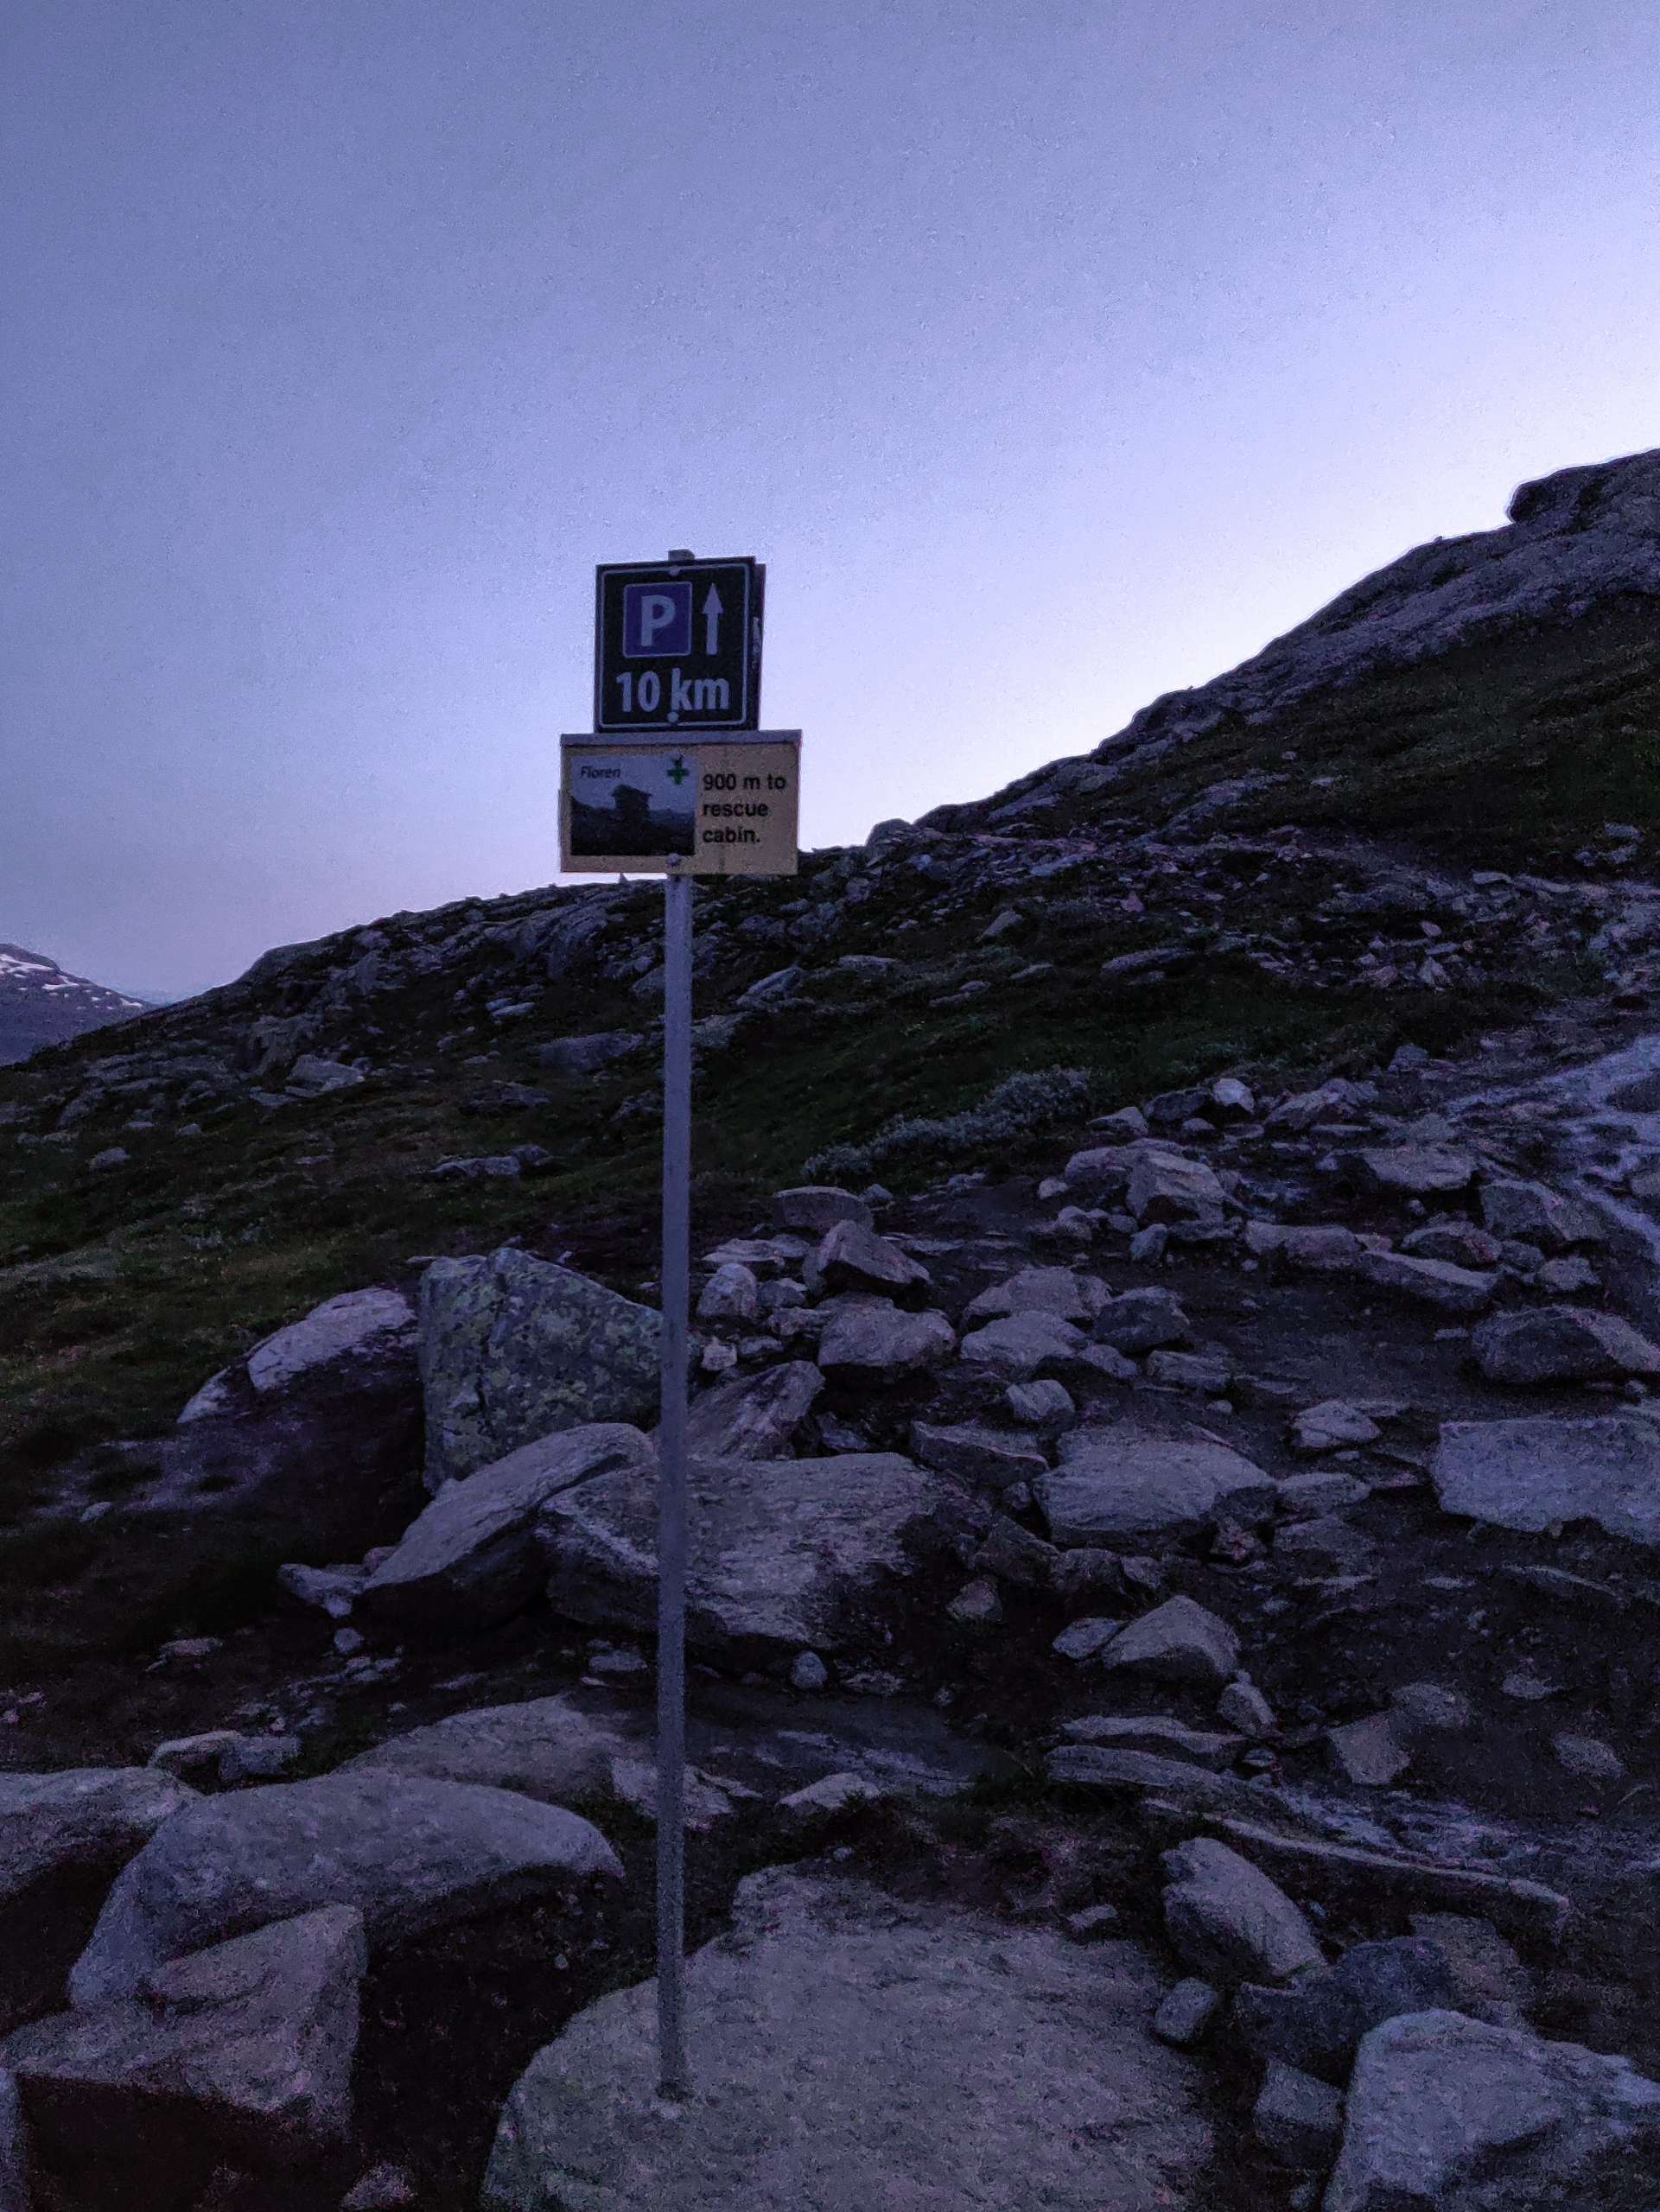
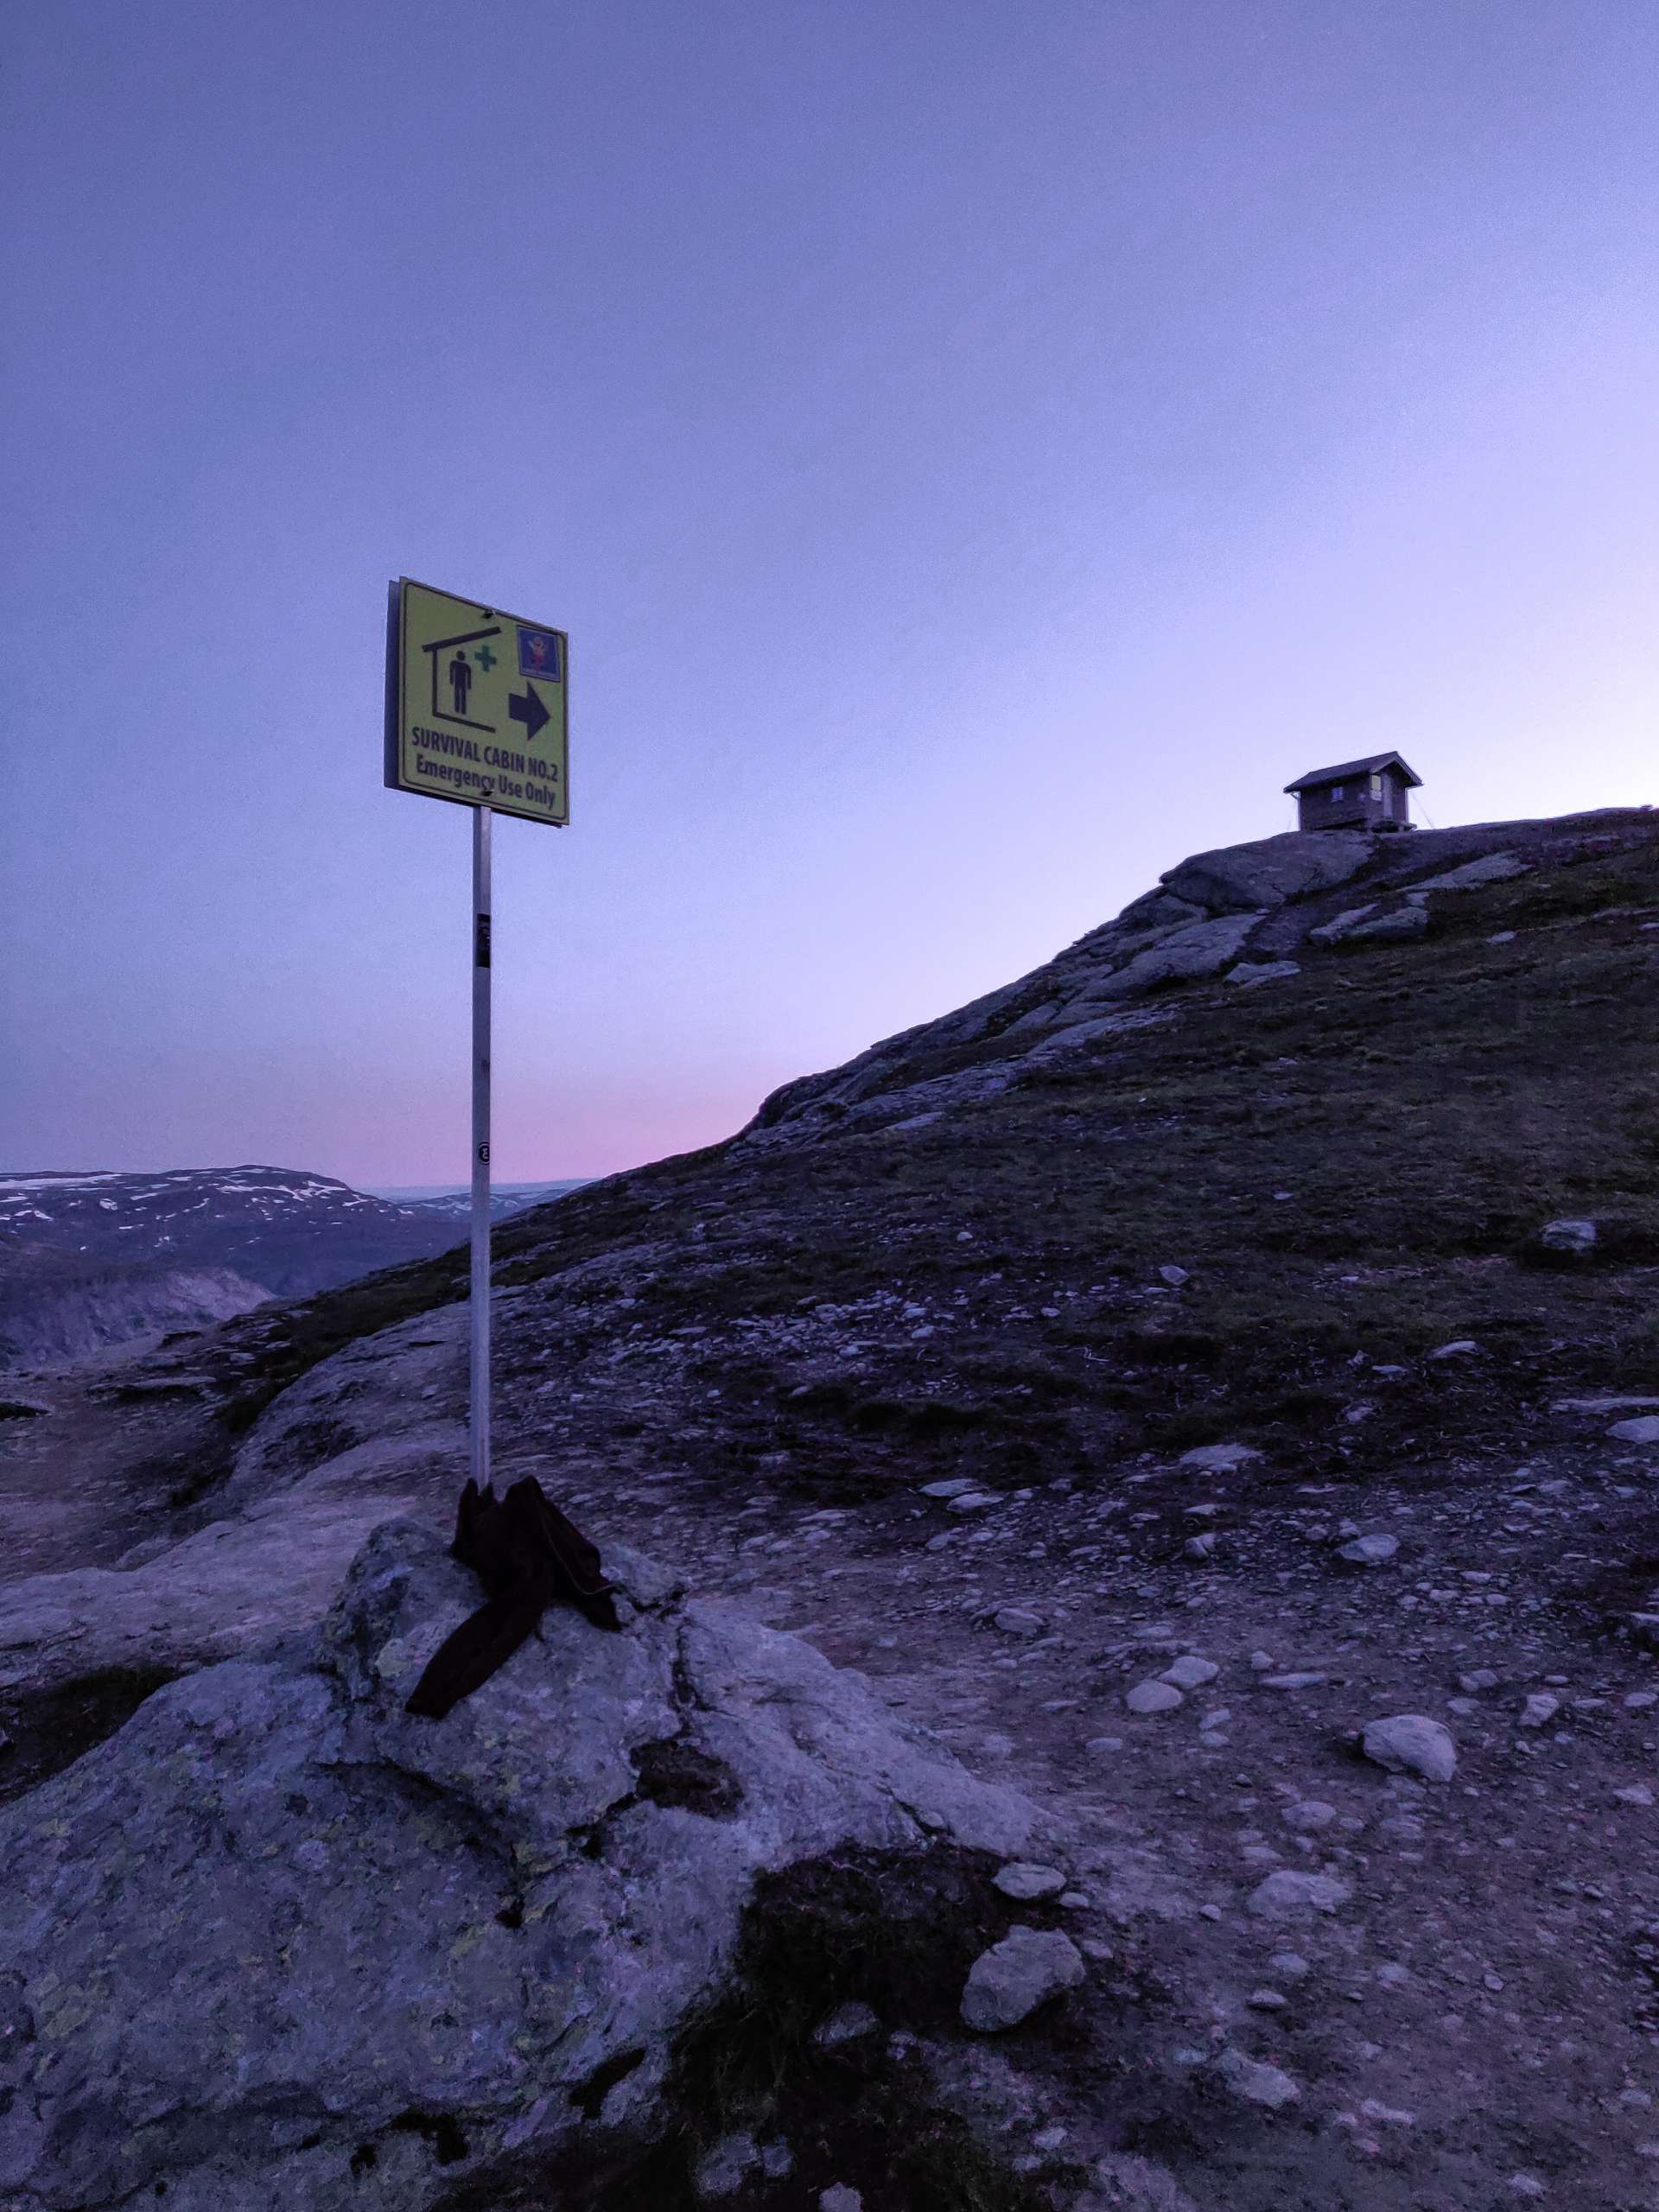
The hike was relatively flat till the 8 km mark and you will cross some small streams in this section of the hike. Another emergency cabin is located at the 9 km mark. After crossing the 9km mark you will go cross a narrow section and you have to climb back up. Some parts of this section was still covered in snow. Some section of the trail is exposed and the drop is quite high. You need to wear proper hiking shoes during the Trolltunga hike for better grip. You should definitely not do this hike if it is raining. The best sign post is located at the 10 km mark and it welcomes you to Trolltunga. The whole trail is properly laid out with sign posts and I will strongly suggest not to deviate from the laid out path. After the 10km mark you will pass through a section which looks like a valley full of rocks. The place looks like from another planet because it is full of dark mountain valley and small lake formed after melting of the snow. The path to Trolltunga is not that straight forward and you can take any path up to the famous mountain. It was beautiful and I followed couple of hikers because this section was little tricky and I ended up in dead end couple of times. There is a warning sign for safety at Trolltunga. Drones are not allowed in Trolltunga and you can’t stand near the edge. There was no queue at the top and It was 7pm. I felt very delighted after looking at my watch because I reached Trolltunga before intended time. I was planning to spend about 2-3 hours at the top and wanted to hike back by 10pm.
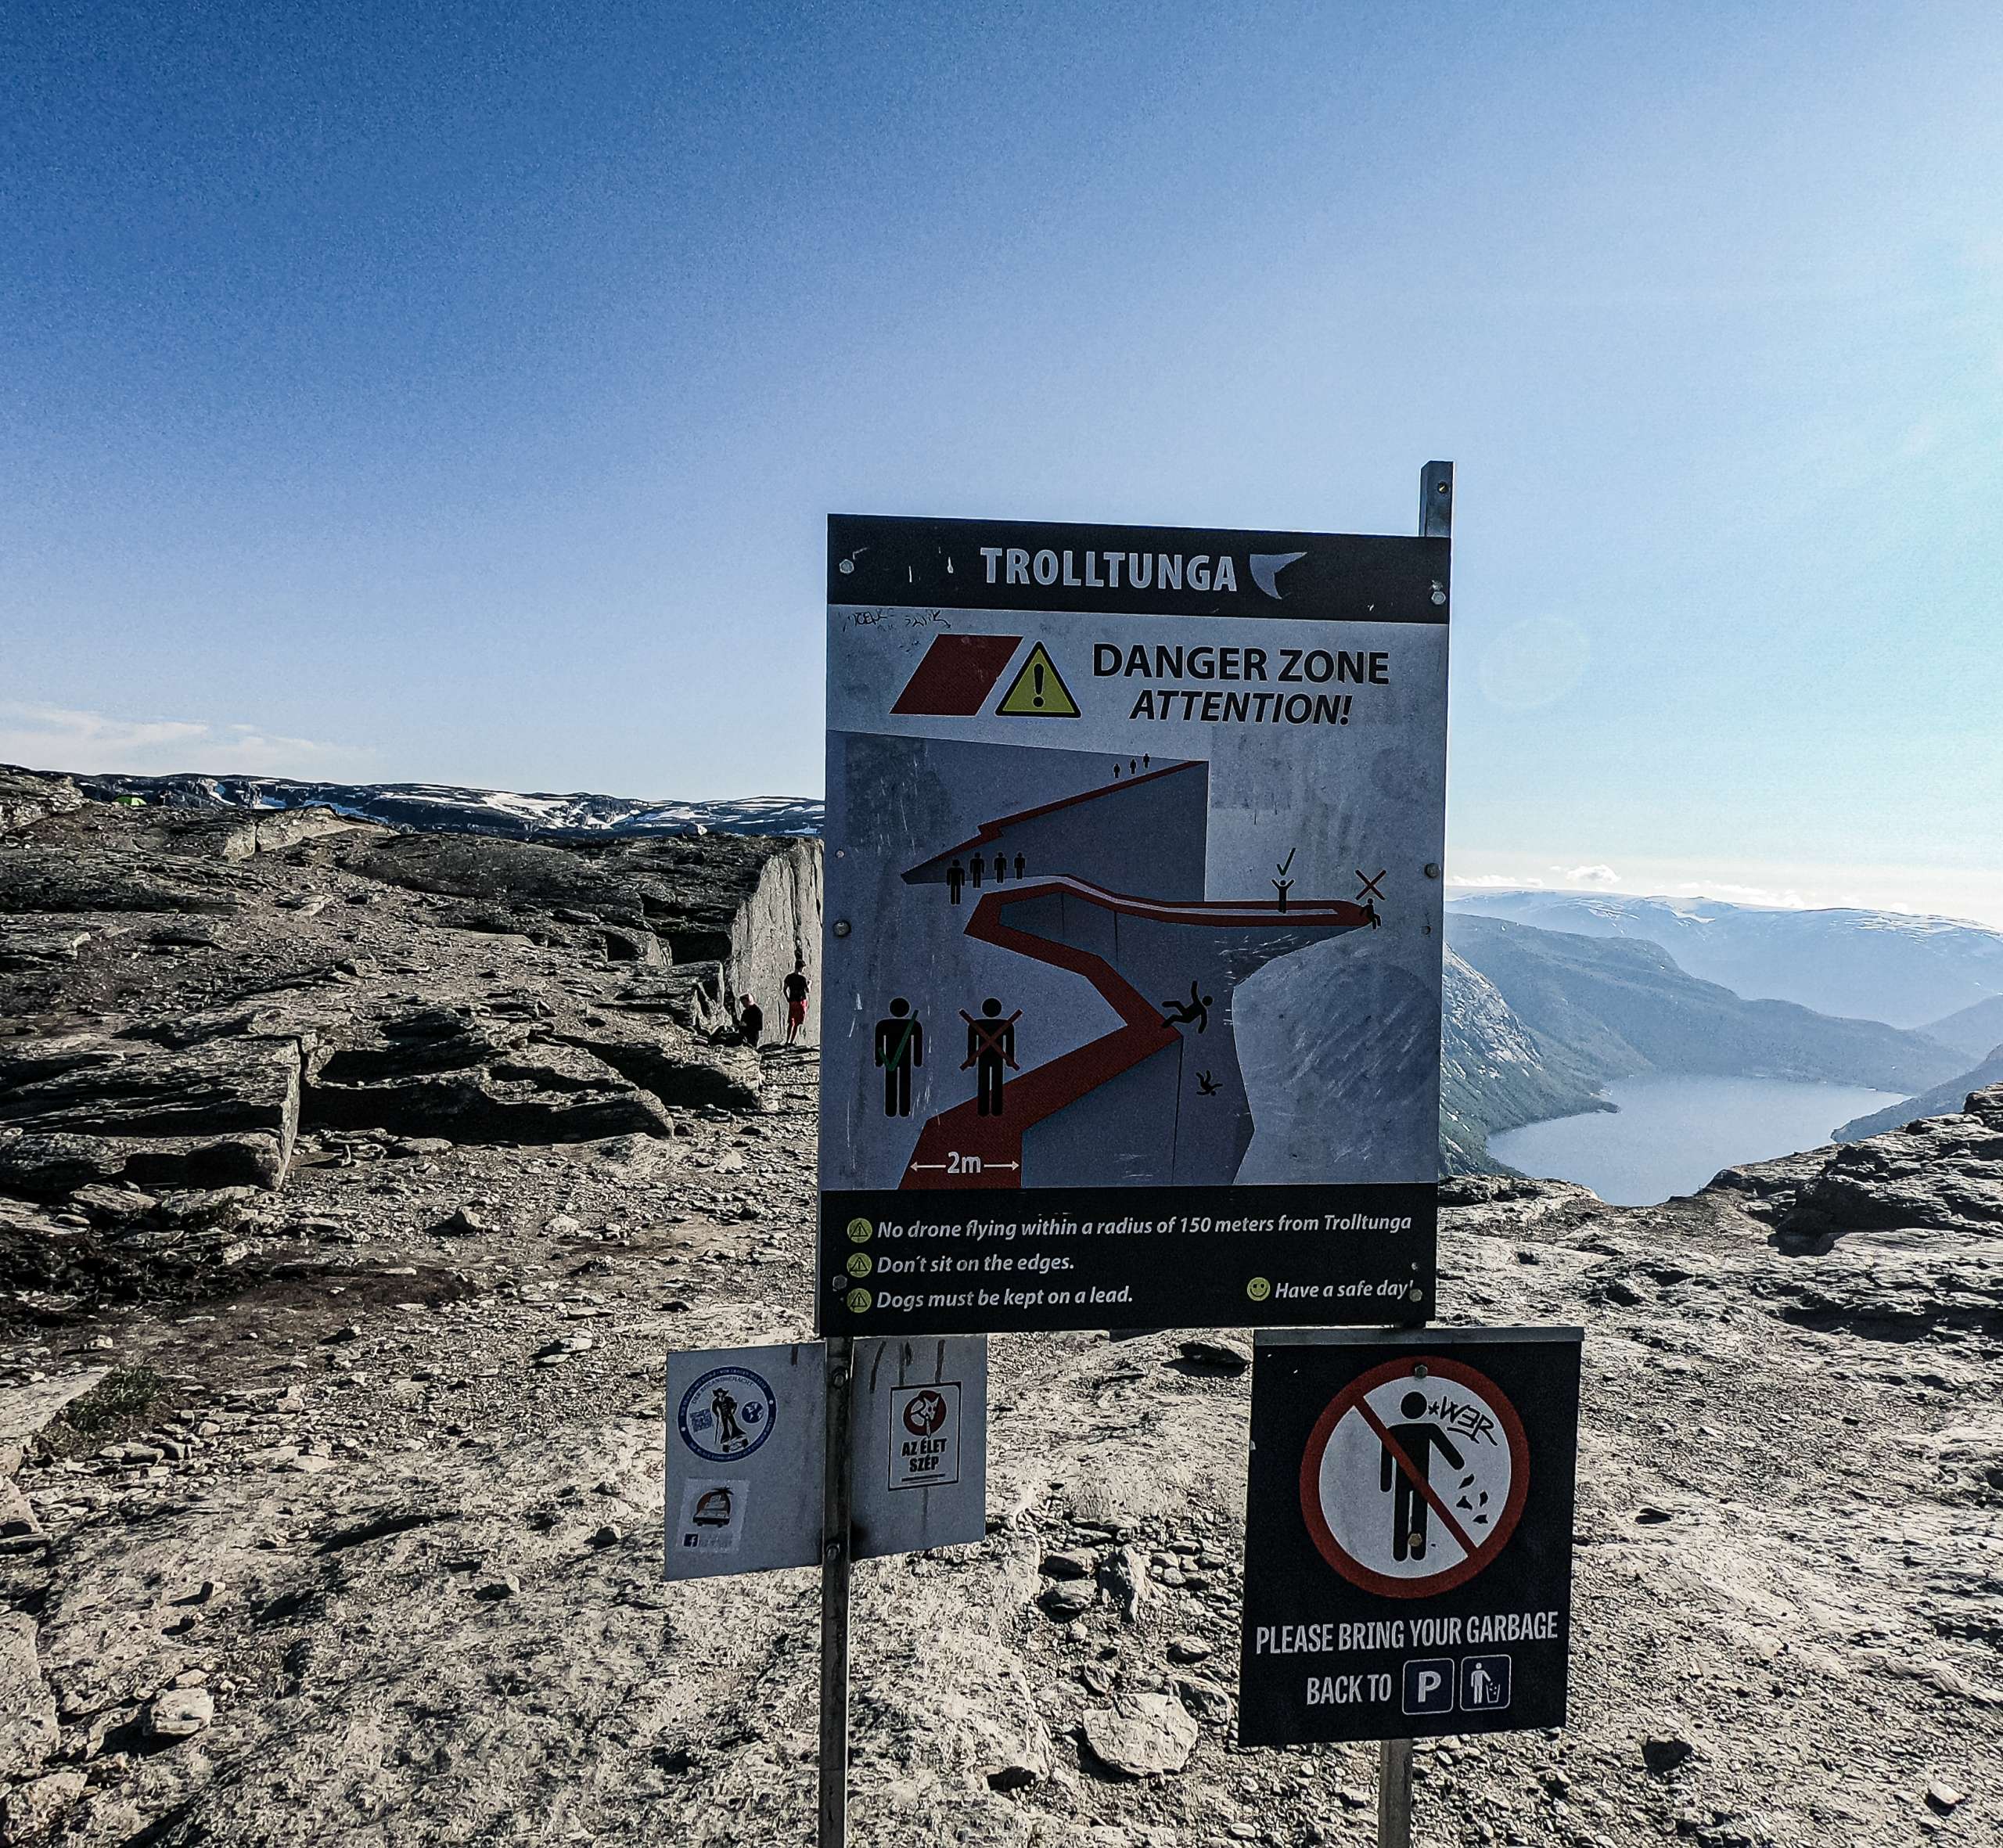
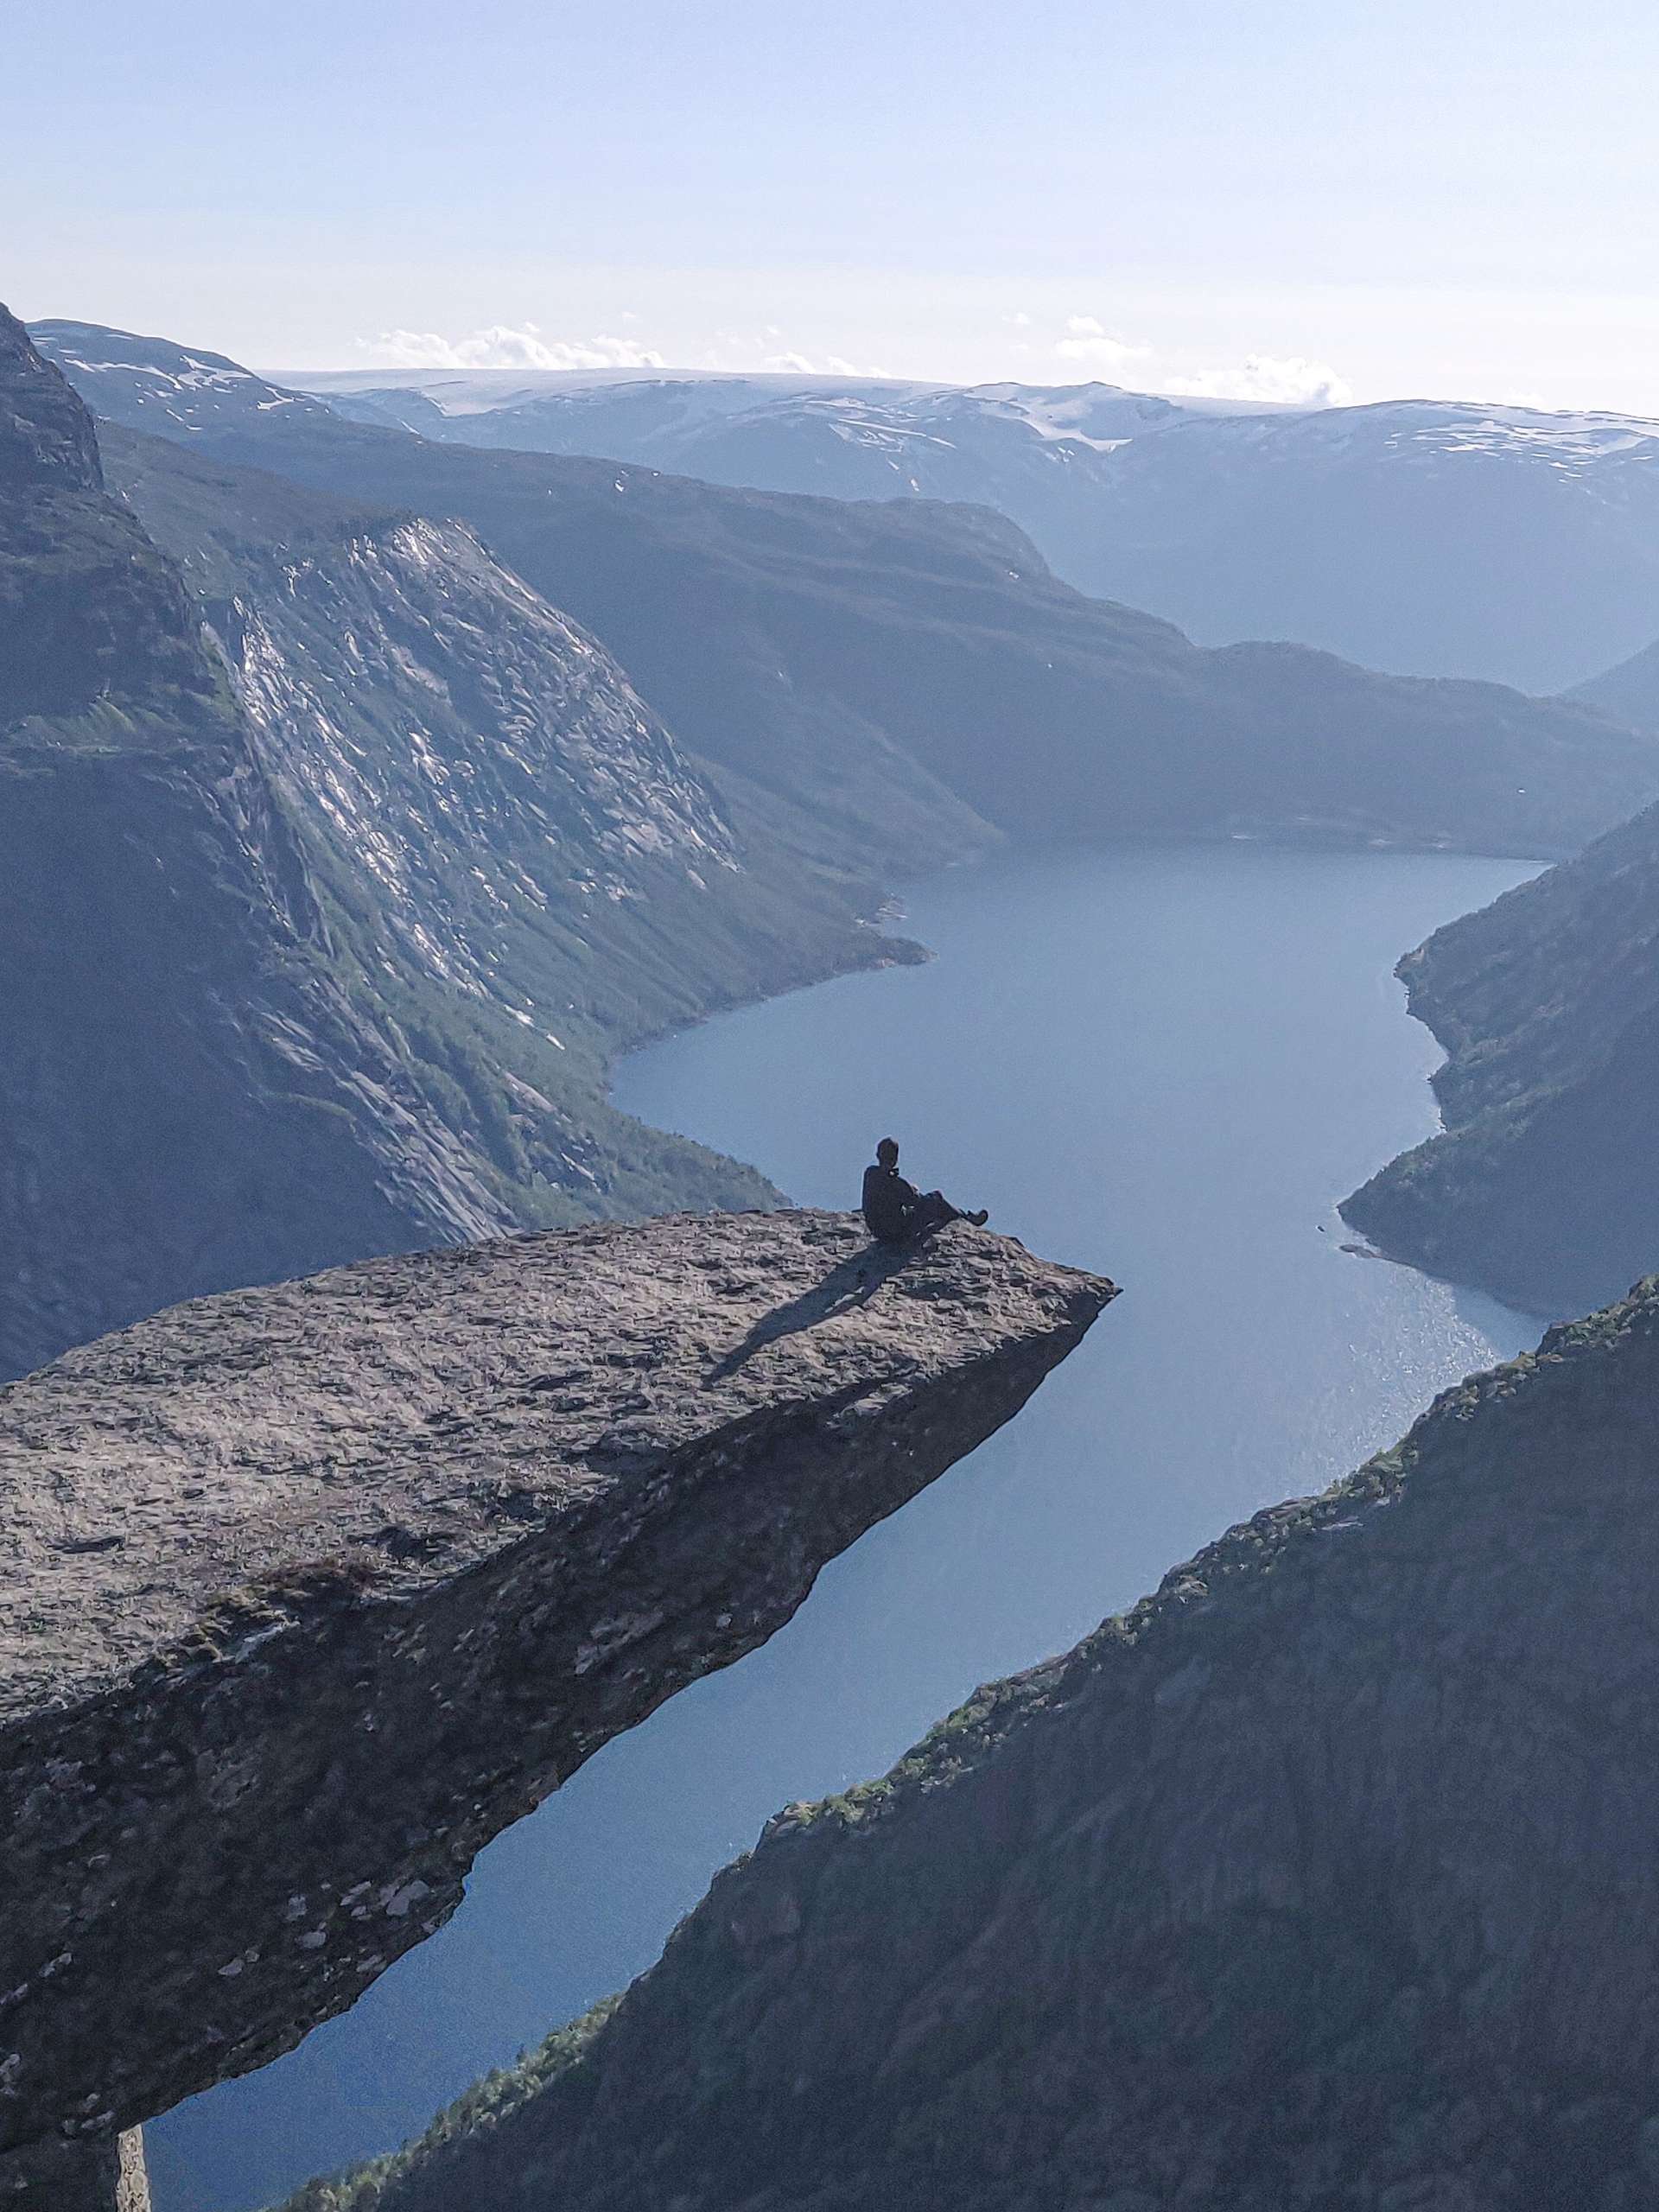
I asked some people to help me take the epic shot of Trolltunga. There was almost no queue at the top and managed to take pictures several times. The people were very friendly and they helped me to take the pictures. The photos looked better around sunset because the sky was lit with beautiful orange color. There is a large camping area located near the Trolltunga mountain. I saw many people camping in that area. I walked around the camping side and took lot of pictures of Trolltunga and the lake from different angels. I was planning to fly my drone but the signal was very bad so I couldn’t fly my drone. Trolltunga looks scary but actually it is not. The actual rock is very wide and it is upward sloping. You can easily stand on the rock. I sat on the edge and took my perfect picture for Instagram. I went there 4 times after every 40 minutes so that I could take pictures with different lighting. The pictures I took just before leaving Trolltunga were perhaps the best of the lot because the lighting was perfect. Only 1 accident happened in Trolltunga when a girl fell from the waiting area. You have to climb down from the mountain to reach Trolltunga and you have to be careful while climbing down. You should never go to edge because I saw almost every part of the mountain is very steep and the fall is quite scary. Trolltunga is lot less scary than Kjeragbolten. In Kjerag there is no space and you are virtually standing on a 1 sqft area. The entry and exit from Kjerag is scarier than Trolltunga. Trolltunga hike is long but it is much less physically demanding than Kjerag. Kjerag is intense right from the start till the end and there is no time to relax. At the end you have to stand up on top of a rock which is very scary. Most people don’t even dare to go up Kjerag but I saw almost everyone walked on Trolltunga.


I started my return journey from Trolltunga at around 10 pm. The visibility was amazing and there is no way you can guess that the time is 10pm. It was also a full moon night so I felt I will have extra lighting for my downhill journey. You follow exactly the same trail on your way back and I was walking very slowly because my bus from Odda to Rosendal leaves around 7 am and there is plenty of time for that.
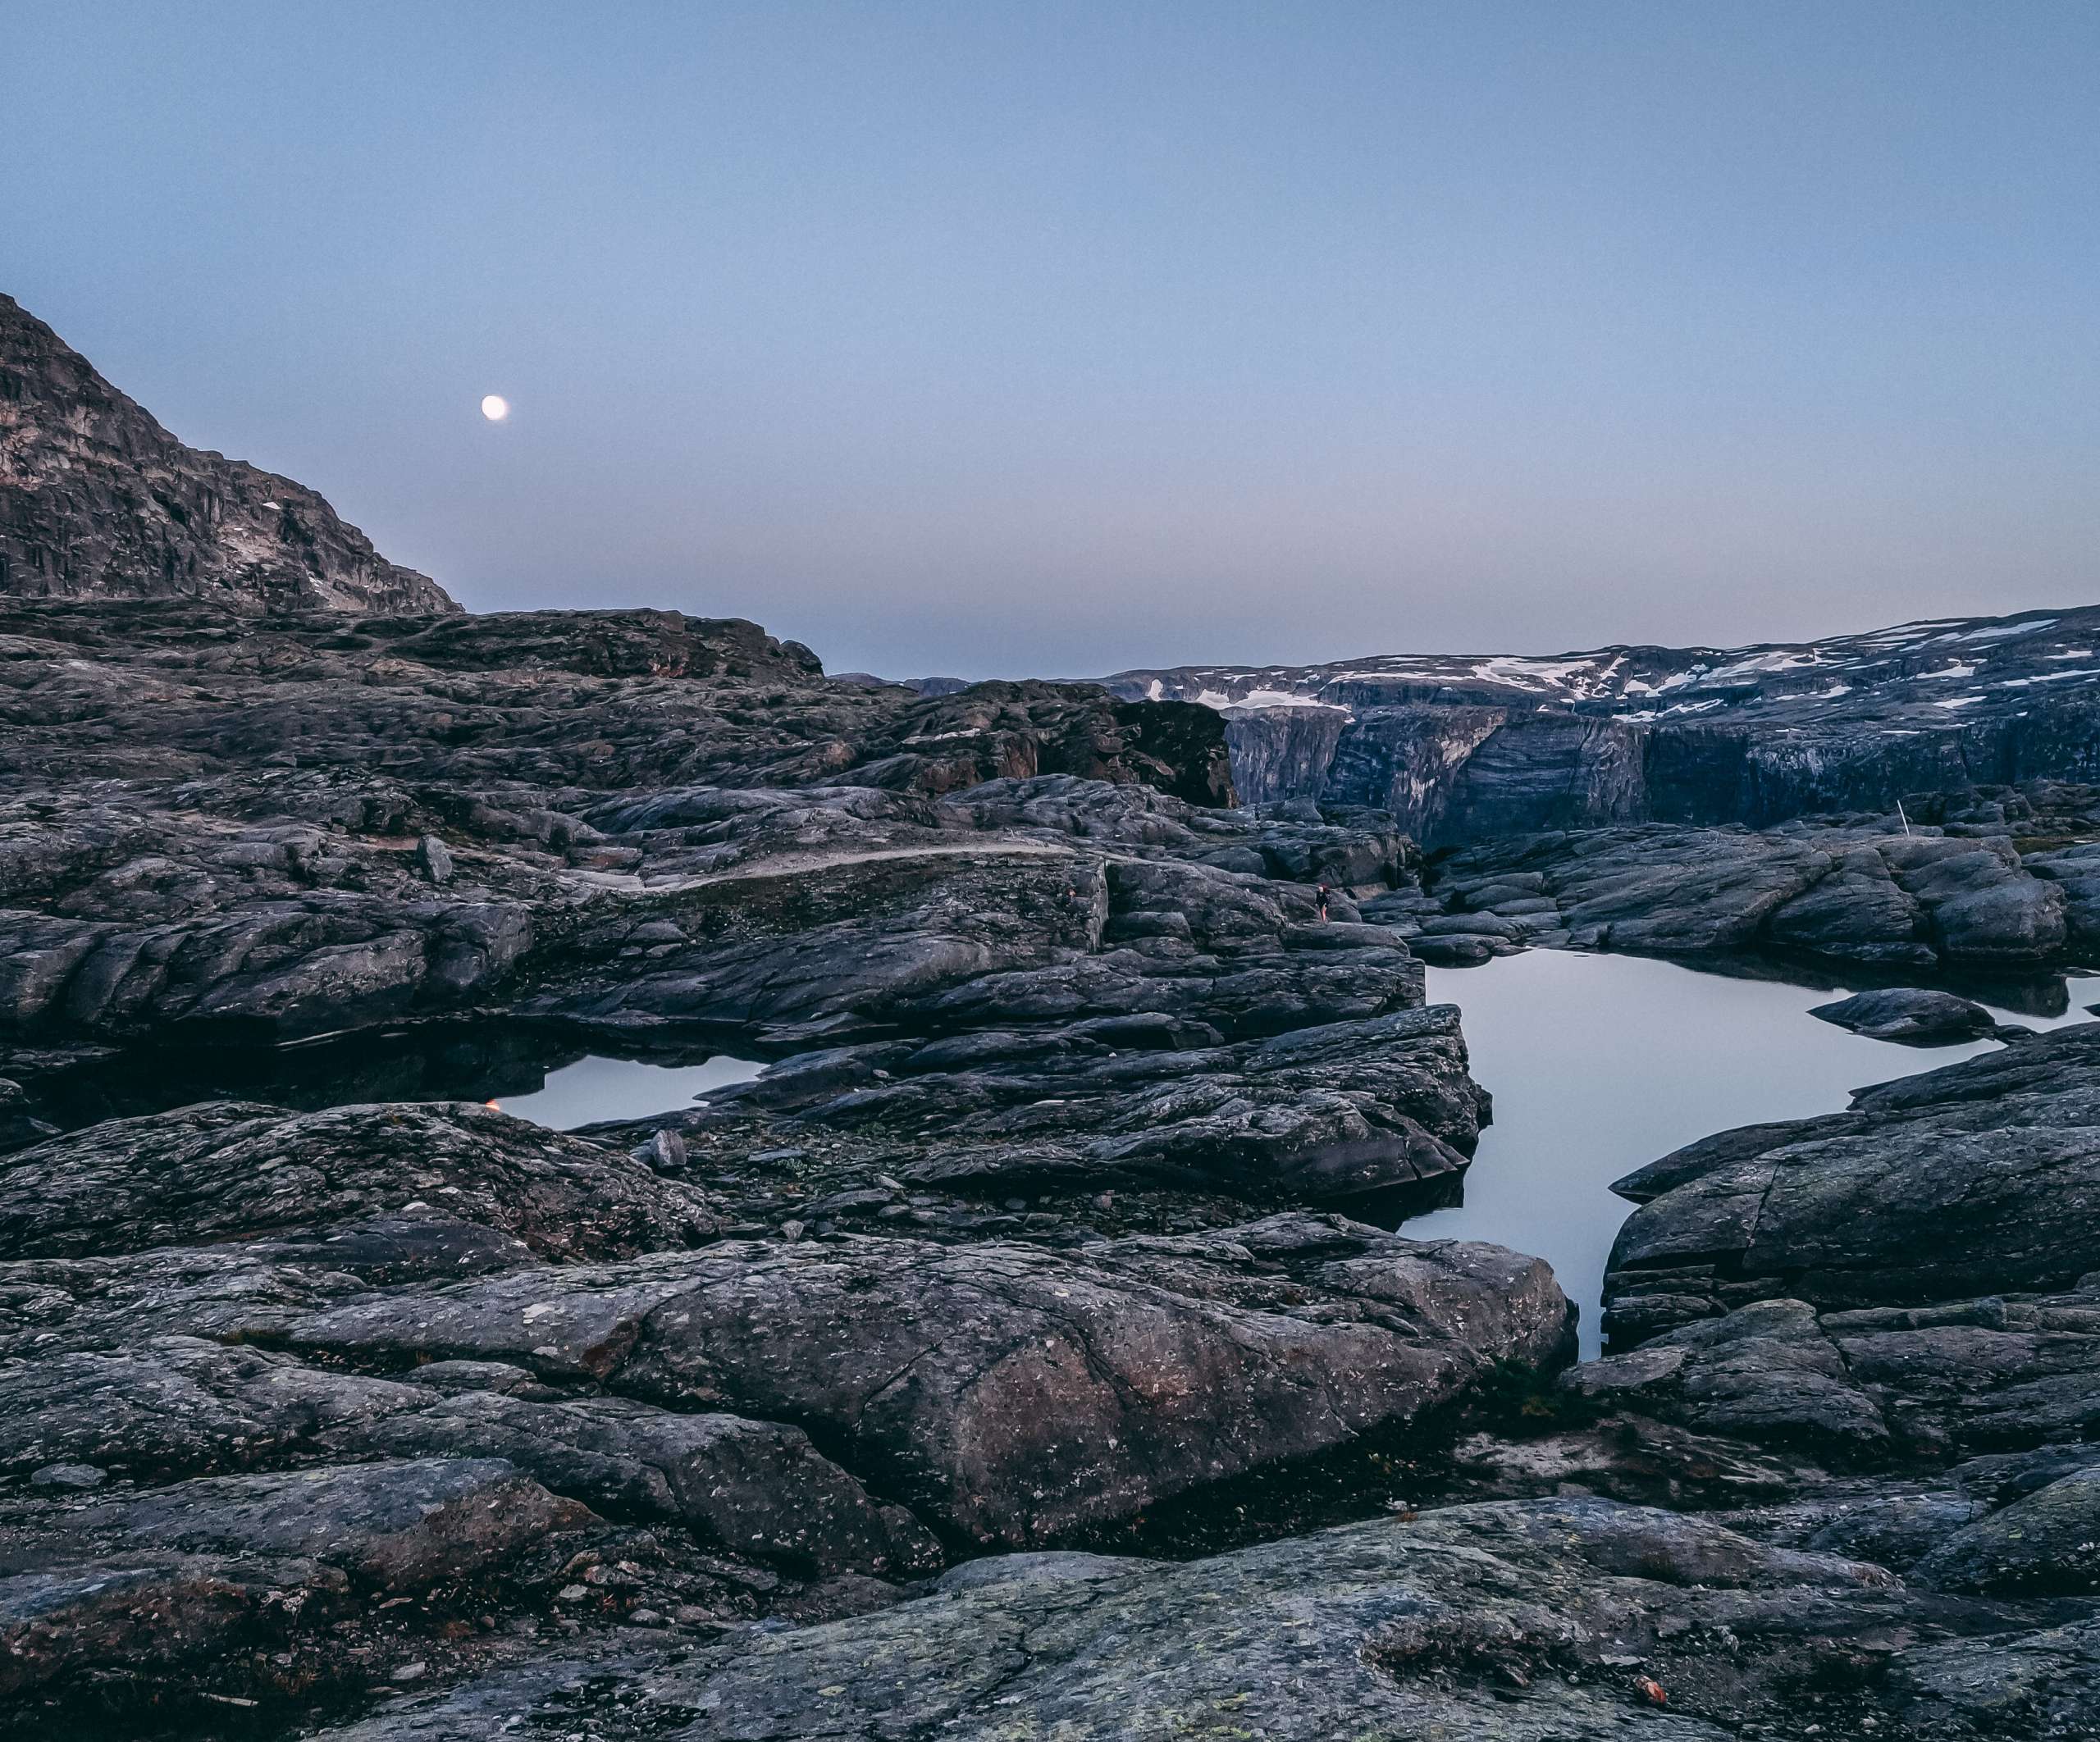
I was hopeful to see lot of hikers during my downhill journey but unfortunately I didn’t see anyone. I saw lot of hikers camping near the hiking trail. I reached the 1st emergency cabin located at the 5km mark at around 12 am. It was little dark but because of full moon the path was properly lit up and there was no need to use any flash light. I sat near a stone and ate another protein bar. I saw group of hikers hiking towards Trolltunga. They asked me about the trail and we talked about the hike for about 10 minutes. I decided to take rest for an hour and edited some photos during that time. I again started the hike around 1 am.
The mountain looks gorgeous in the presence of moonlight and the weather was perfect for hiking. The scenery was absolutely insane when I crossed the beautiful lake. The moonlight was reflecting from the lake and there was no one except me around the lake. It was really scary because it was dark and I will always look back if I hear any sound. Norwegian mountains are extremely safe for hiking because Norway doesn’t have any big predators. The fog started coming at around 3 am and the visibility was much worse at that time.

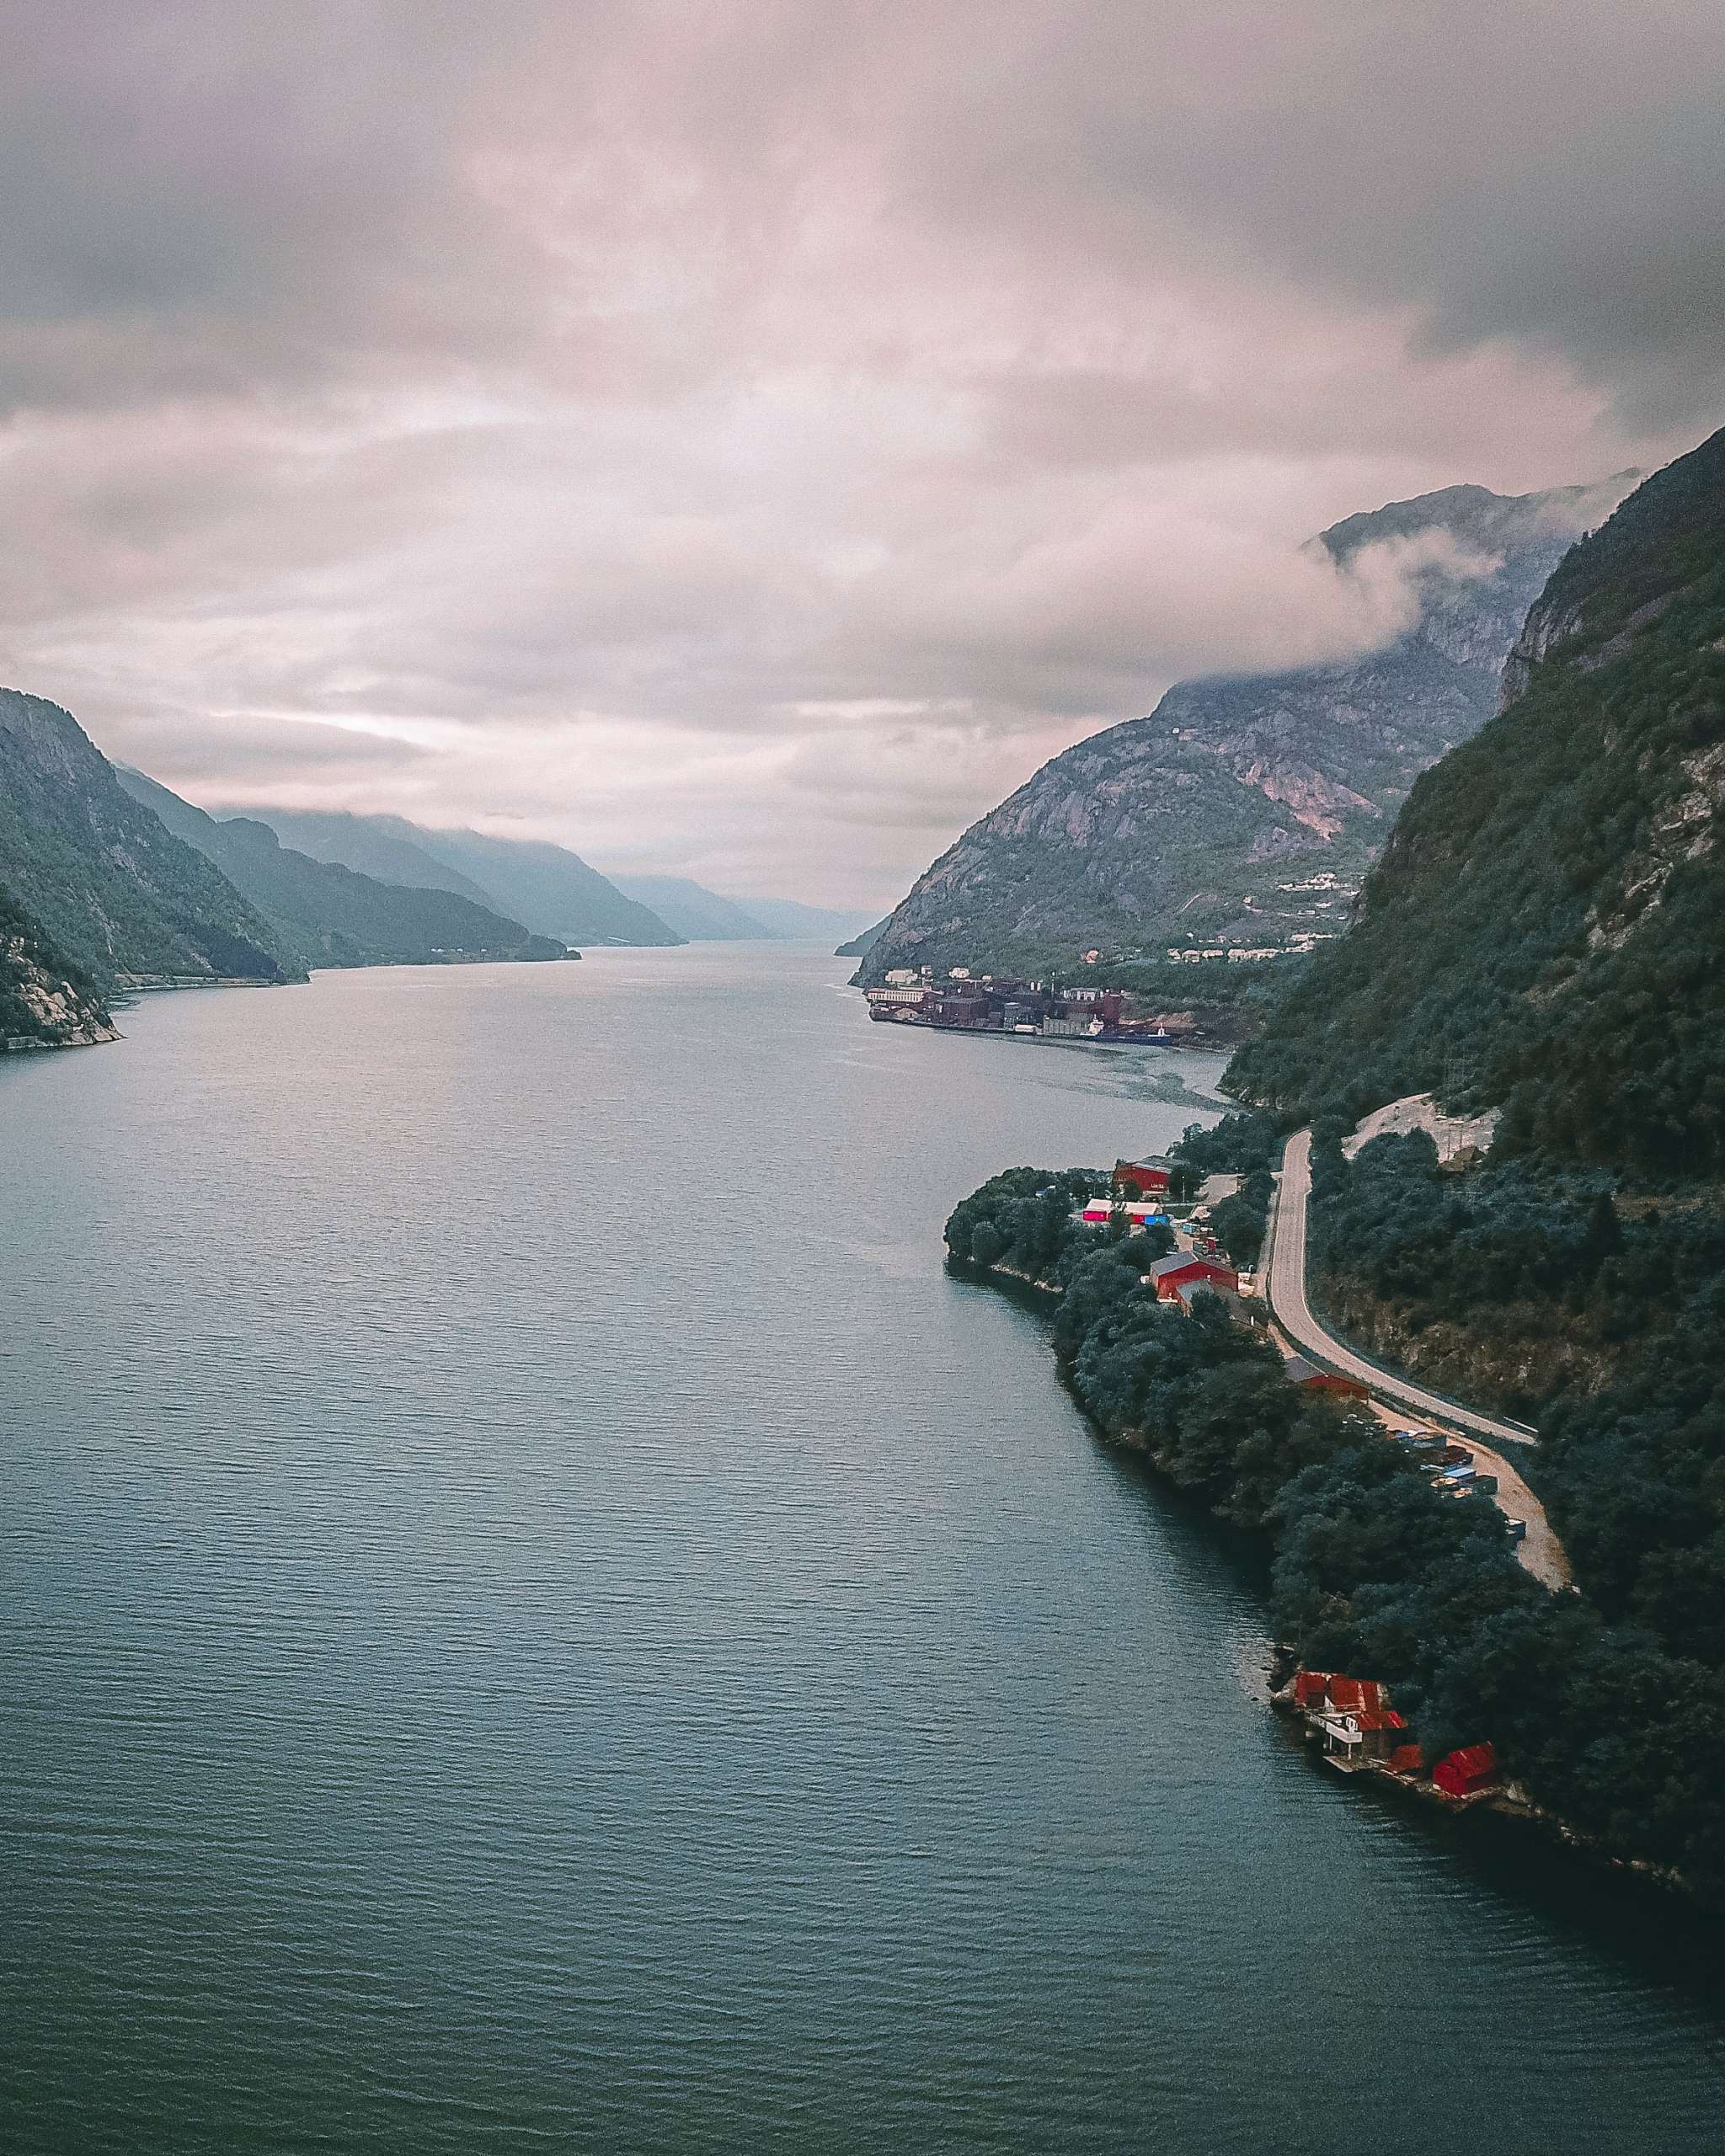
I was relieved because I covered most part of return trail without the presence of fog. I reached Magelitopp at around 3 am and I started following the downhill road back to Skjeggedal car park. It was long way down and I didn’t see anyone hiking up at that time. I reached the parking spot at around 4 am and I saw lot of people camping near the parking location. I took some rest at the parking spot and started walking towards odda. After walking for about 1 km I hitchhiked a ride and the driver dropped me at Tyssedal. Tyssedal is located about 6km away from Odda and I walked from Tyssedal to Odda. I stopped at few locations to fly my drone and took some nice shot of beautiful Odda Town. I reached Odda bus stop at around 6 am. I was feeling little sleepy and I ate my last protein bar at this point. Odda is a very small sleepy town and it was very windy. All the mountains were covered with thick fog and the visibility was not that great. The weather pattern was very similar. It was always foggy in the morning and the visibility was better in the afternoon time. I feel the visibility before noon would have been terrible at Trolltunga. I was really happy that I visited Trolltunga when the visibility was perfect and I didn’t have to queue up for long time.
I took bus from Odda to Rosendal and took ferry from Rosendal to Bergen. I slept completely during the 2 hours’ ferry ride from Rosendal to Bergen. I reached Bergen at around 11 am. I was really hungry and I walked towards the nearest McDonald’s and I grabbed the biggest Burger in the menu. I completed the entire hike in 26 hours from Bergen and I think this is a great way to explore Trolltunga without camping. If you are in tight schedule and if you are physically fit, then you can follow my itinerary and complete the hike in a day. If you do the hike during the weekdays, then you don’t have to wait long hours for the buses. If you have your own car, then you will save ton of money in transport.


Overall I really enjoyed my trip to Trolltunga and I will never forget the hike in my entire life. I will strongly recommend everyone to visit Trolltunga during their trip to Norway. The hike is moderate level and it is long. You should be prepared with basic equipment and food. The facility for camping is also really good at Trolltunga but you might take little bit more time during hiking if you are travelling with camping gear. Next day I flew to Budapest from Bergen and just relaxed for couple of days.

Leave a Reply